 |
| The Old Man Helps You Scale Death Mountain |
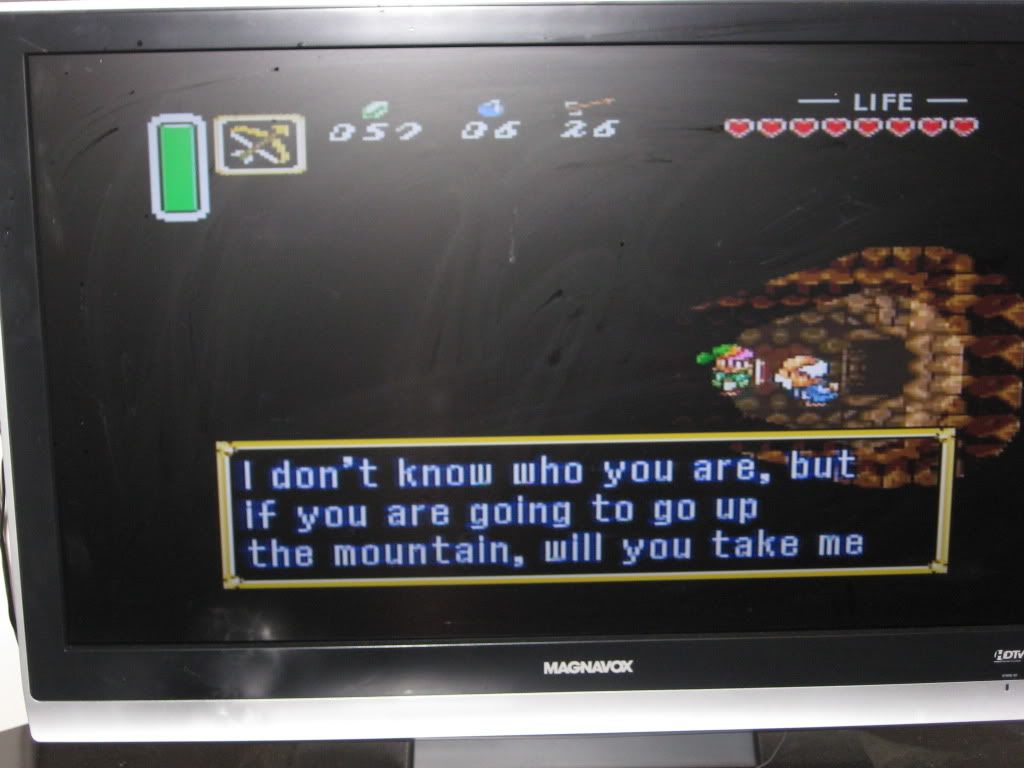
Scaling Death Mountain is no joke. This feature finds its way into many titles in the series, possibly because of its ominous name or otherwise. One way or another, this mountain is tall, and without the aid of teleportation to and from the Dark World, we wouldn't be able to climb the natural obstacle at all to reach the Tower of Hera. But within the caves, you meet a man who presents you with a catch-22: he asks you to guide him to the top of the mountain, because he doesn't have a lamp himself and doesn't know his way. Yet he gives you directions through the caves in order to reach the exit.
 |
| The Magic Mirror |
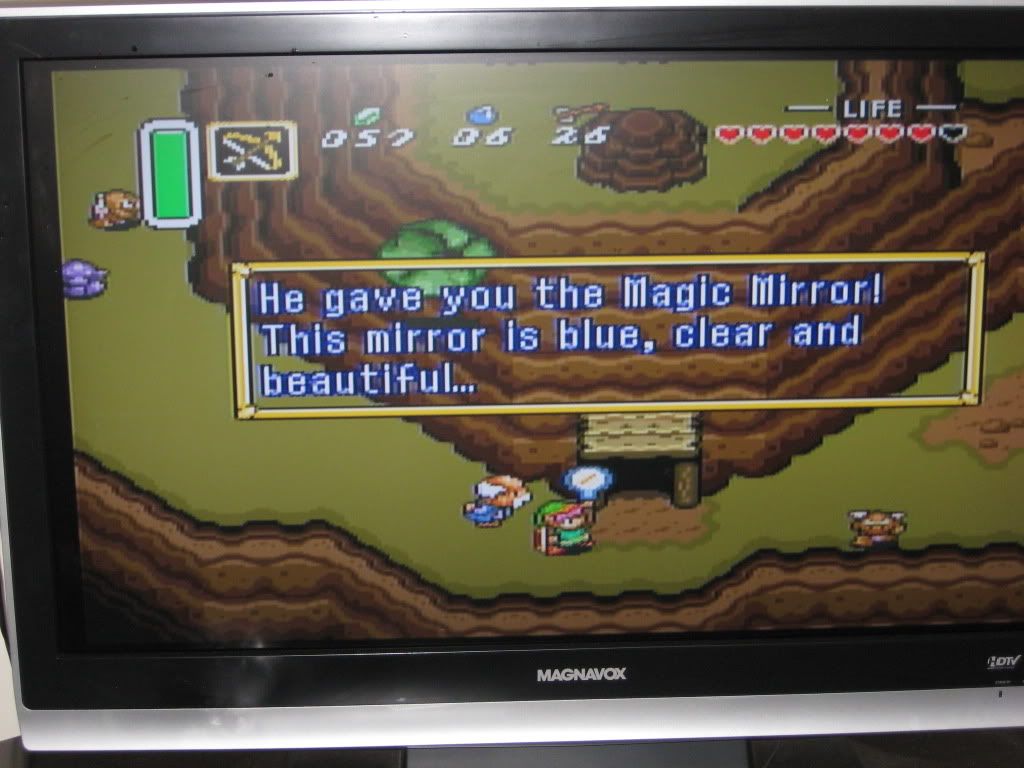
After exiting the cave, we reach the man's home embedded into the mountain side. He gives you an artifact, the Magic Mirror, which allows us to transport out of the Dark World. Quite useful, and necessary. In fact, you need it up here: you will be going into the Dark World in order to access the Tower of Hera. This is the first time we will be in the Dark World, but won't be the last: the Dark World represents, essentially, the second half of the game which we have yet to explore! This is an interesting puzzle, though what it really does is introduces us to the element that the Dark and Light World are connected: in order to get to the Tower of Hera, we need to teleport back to the Light World in the right location (on top of the spectacle rock) in order to be at the proper height to reach the Tower of Hera.
 |
| The Entrance to the Tower of Hera |
After a bit of running around, we are within the Tower of Hera. Within this dungeon we'll find the final, that's right, the final pearl! Then we can get the Master Sword! I'm excited! The Tower of Hera itself isn't too challenging in action or puzzle, but it does have its moments. None of the dungeons of the Light World are all that difficult, probably in forgiveness of the difficulty of those that are hidden in the alternate dimension!
 |
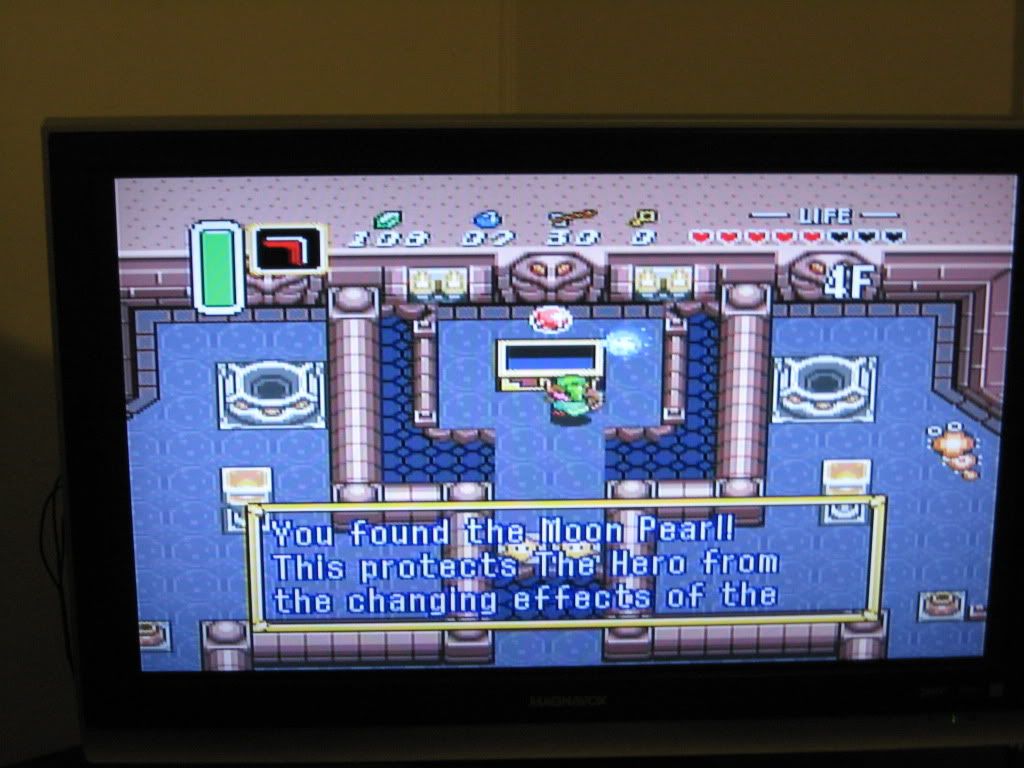
| The Moon Pearl |
Like the previous dungeon, the prize of this dungeon doesn't help us much within its confines...however, it is an immense thing once we get out of here! The Moon Pearl allows its holder to retain his or her true shape while in the corrupt Golden Realm (now called the Dark World). This is interesting, because we only had to enter the Dark World once without this item in order to reach this dungeon, so we'll never have to be exposed to the dangers of the alternate realm without the safety of our defense by our side. Interesting indeed. You'd think Nintendo's programmers would have made this a touch more difficult in its timing.
 |
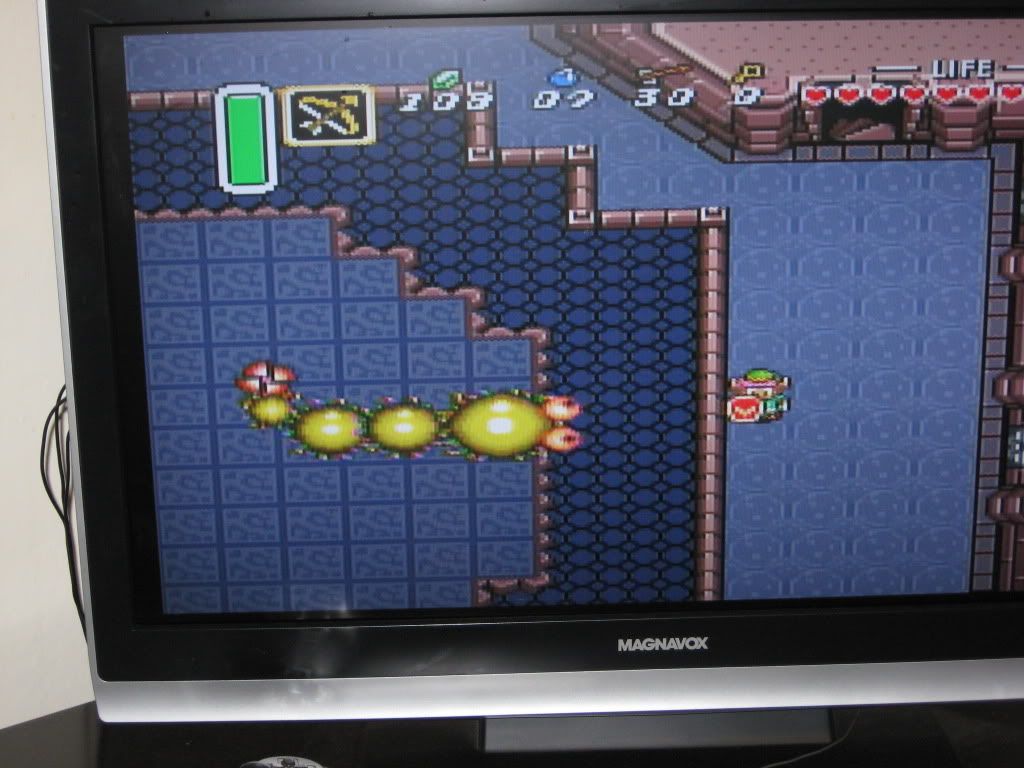
| The Moldorm |
The boss of the Tower of Hera is the Moldorm, a giant worm with a major attitude problem! This is the most irritating boss of the Light World, especially in our current state. This guy is invulnerable with the exception of his tail. Like that's fair. To make matters worse, this bastard gets healed up to the max if he manages to knock us to the floor below and given that there are no walls to his arena and a hole in the middle of it; this isn't such a hard feat for him to accomplish; while hitting that tail of his is when he scampers around and your major worry is being knocked to the floor below! You'll say that because he doesn't attack he's nothing to worry about, but Nintendo managed to make a boss who doesn't attack you a major pain in the butt!
 |
| The Pearl of Wisdom - The Final Pearl! |
After you finally deliver the final blow to Moldorm, the Pearl of Wisdom falls from the sky and is yours to claim! This is it, you now hold all three pearls! The Master Sword is ready for its new master!
No comments:
Post a Comment