 |
| SQ Underworld Level II |
There she goes, there she goes again.
So here we are, another dungeon, more fun. Some key differences for this level begin in the itinerary. We find the recorder in this level. Now, as useless as this item was in the first quest, somehow, the programmers either second thought this or intended it only to be useful in the second quest because the recorder is required now to finish the game and helps you to uncover many secrets in the land of Hyrule. However, the reason why we are still not being given anything we can use for offense at this point is still a frustration.
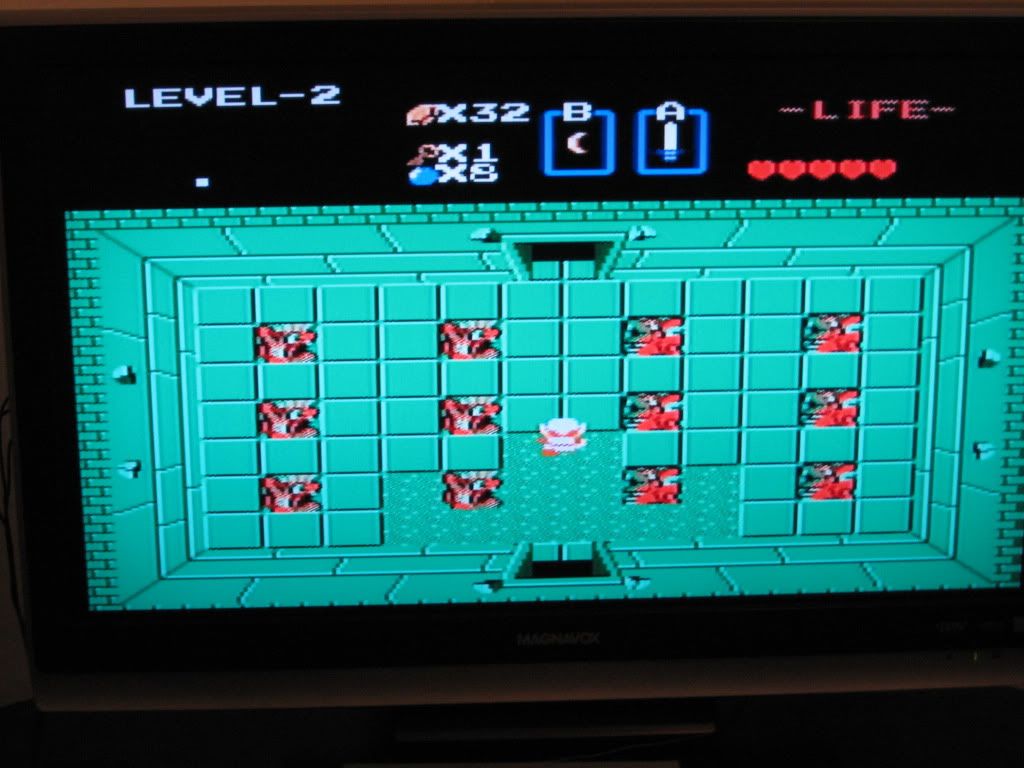
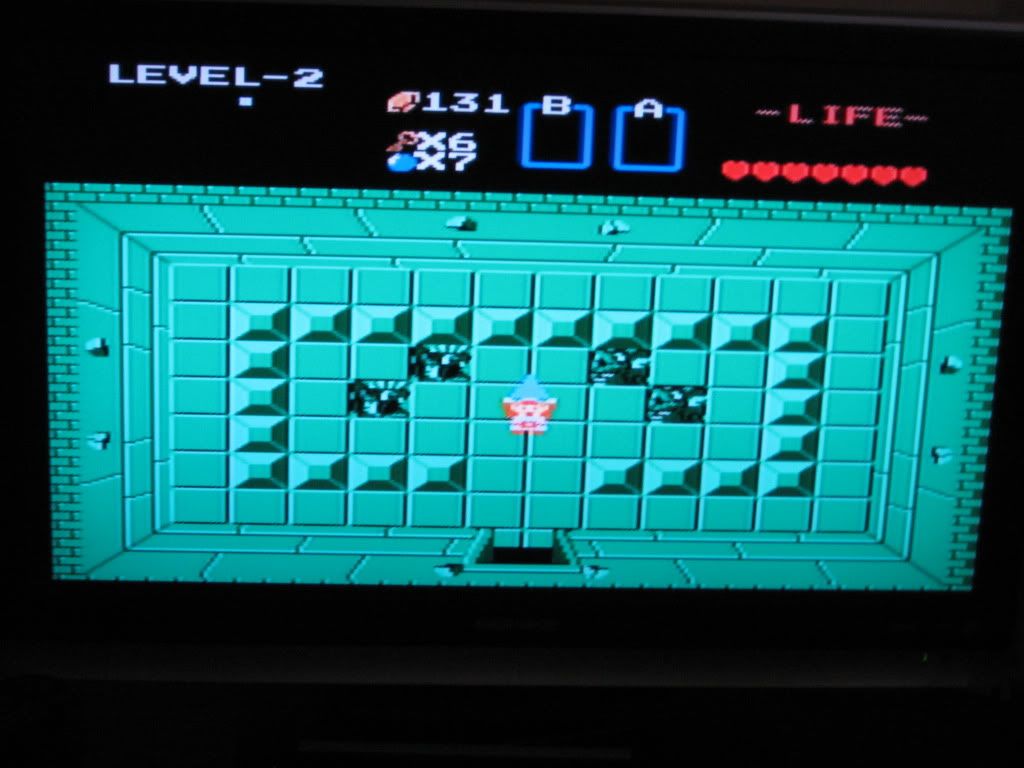
This dungeon also introduces us, though it does not do anything overly complex with them, to the illusion wall: walls that look like walls but in reality are doors to new rooms. This basic kind of puzzle actually is quite decent considering the eight-bit engine that we are working with, and as the game goes it gets more and more complex with the travel path needed to traverse the dungeons. This dungeon, however, much like the early dungeons of the first quest, was easy to explore and solve the mystery.
I've decided at this point not to photograph the bosses of all the second quest underworld boss enemies. The reason for this is many. Firstly, most of them are Gleeoks. Secondly, I already have pictures of them via the first quest and third, I want to save hard drive space for my future adventures. So most of my blogging on the second quest will focus on the differences between the two and will not include many screenshots, sorry to disappoint.
However, just to prove that I did indeed overcome Level Two of the second quest...
 |
| SQ Triforce of Wisdom Piece #2 |
Now we're talking.
No comments:
Post a Comment