Thursday, July 29, 2010
The Second Quest Begins
So, The Legend of Zelda offers the player something that most of its successors do not: a second play through with an alternative map, an alternative dungeon schema and even an alternative item gain. Unlike the other playthroughs, though, this one plays like an almost entirely differently game. While the plot is the same, the map the same and the characters the same, most everything else is different, meaning the player has to start from square one. While this does stink a bit, after all, we spent all that time acquiring all of those goodies for our survivability and now we're back to being a three-heart weakling wielding a wooden sword; we get to look forward to exploring Hyrule all over again, but under a different guise.
Review of the First Quest
The Legend of Zelda is an endearing title that has earned its way into the hearts of millions of gamers, including my own. It can be played on multiple platforms for a reason, and has been copied onto many an emulator as well. It can only adequately be described in one word: "epic." Despite what is to be desired because of the 8-bit graphics and the battle schema that results from such a limited engine, this game is ten loads of fun to play, a great way to relax after a hard day of work (or school) and is the benchmark for every Zelda to come. All the things that are introduced in this game are simply expanded upon in future titles, using this game as the ultimate root (despite the fact that, chronologically, it is argued that Zelda I is the second to last title in the series).
The Legend of Zelda (The First Quest) earns an A-. This game is so much fun to play, even though I have played it many times before. It probably isn't the last time I will play it either.
Sword Class
Wooden Sword - your first item in the game, and your first weapon too. This weapon can barely even be called that though, as it quickly loses any usefulness as your enemies gain defensive power. It gets you through the first part of the game in order to get a better tool, though.
Usefulness Rating: C.
White Sword - your second sword, which if you play things well, you can get rather early on. This weapon doubles the attack power of the wooden sword and doesn't result in some of the undesirable effects of the wooden sword (the splitting of zols, for example) until much later in the game (i.e. vires) This sword carries you through a great majority of the game and without too much trouble either. Usefulness Rating: B+.
Magical Sword - your final sword which you will not get until the final third of the game. Granted it would have been nice to have early in the game, but then, what would be the fun of that. This sword quadruples the attack power of the wooden sword, maximizing Link's sword power. No enemies split when hit by this sword and many annoying enemies go down now in two to three hits (i.e. darknuts) Usefulness Rating: A.
Boomerang Class
Boomerang - the boomerang is a projectile weapon, and I personally have it set as my default B weapon after I get it in the first dungeon. Why? Well, it stuns many enemies (and kills some weaker ones) allowing an easier time in slaying them with the sword while they aren't mobile (especially tektites.) However, the first boomerang has an extremely limited range, limiting its usefulness. Usefulness Rating: B-.
Magical Boomerang - the magical boomerang does everything the boomerang does...only it does it better. It flies further, which means when it curves to follow you, the path it takes is a bit more concave, allowing for better striking range. The only problem is that once you obtain the magical boomerang from the second dungeon, all of your boomerang carrying enemies (the goriya) seem to find one for themselves. Oh, well. Everything must come with a little bit of a price.
Usefulness Rating: A-.
Defense Class
Magic Shield - a costly item but one that proves quite worth the expense, the magic shield blocks many a projectile and keeps Link better protected. Also, it just plain looks cool. The only thing with it is that it seems attractive for a particular enemy and they will stress you out trying to destroy them before they eat your shield. But kind of worth the stress too...the shield you come with just doesn't do anything.
Usefulness Rating: B+
Blue Ring - Link finds the blue ring hidden in one of the shops in Hyrule, underneath an armos knight. What an armos knight was doing sleeping on top of a shop, we'll never know. Either way, the blue ring is an amazing item that you'll be wearing through most of the game. It reduces your damage in half. This helps you immensely, since this game is fairly action-based and likes to throw enemies at you that deal considerable damage, especially in the latter dungeons. It helps to reduce the effects. As well, there are many an over-world enemy that now have to touch you twice to take half of a heart off you. Isn't that neat? Best of all, your clothes change to blue, so you're not forced to stare at a green tunic Link constantly.
Usefulness Rating: A.
Red Ring - Link finds the red ring deep in the confines of Death Mountain. It's too bad that he has to find it at the very end of the game, because otherwise, it would be incredibly awesome: it really only serves to increase his survivability through the final dungeon, which is l-o-n-g. It again reduces the damage he takes and he goes through another costume change, this time to red. It's useful, but because it's found so late in the game, it's kind of a downer.
Usefulness Rating: B.
Miscellaneous Class
Bombs - Bombs are found at random throughout Hyrule as an enemy drop. To the best of my knowledge, this is the only game that allows for this...which means that this is the only item you add to your collection at random in the series. After this Link must carry a bomb bag before he can carry bombs, and the bomb bag he uses limits his supply of bombs. Bombs prove necessary for finishing the game, as you need them to create doors in dungeons to access rooms you otherwise couldn't have. They also allow you to find all sorts of fun things in the over-world like shops, heart containers and other such things.
Usefulness Rating: B+
Power Bracelets - an item that you just find chilling underneath an armos knight (what is it with those guys and concealing stuff?) that is simply limited. It solves no puzzles in the underworld for you...you do not need strength to move anything down there, as all the block puzzles are completed by pushing the blocks which Link can do, power bracelets or not. All they do, really, is open up some side-quests options. It's just a way to open up the game a bit, but in all honesty, they could have opened up the game anyway and blocked off these areas in a different manner.
Usefulness Rating: F
Whistle - this item is critical to do two things in this game. You need it to access the seventh dungeon, and more importantly, it makes your life easier in defeating the fifth boss' dungeon. However, otherwise, they found no more uses for this piece of junk other than having a tornado randomly take you from place to place.
Usefulness Rating: D-
Raft - the raft is another item that is critical to do a few things in the game. It takes you to locations you can't get to because of water via the various docks in Hyrule and unlocks various other places in Hyrule as well as a few heart containers. It doesn't do much else however.
Usefulness Rating: D
Stepladder - the stepladder is secretly very useful. While it, like the raft and whistle before it, is useful only as transport to a few key locations in Hyrule, it also allows you to create bridges in all the underworlds, allows you to traverse the over-world a little bit easier, gives you more access in the over-world and as well, gives you a strategic combat location when you are in a dungeon room with water or lava pits. When standing over them on this item, you are safe from non-flying, non-teleporting enemies. This makes for an advantageous spot to attack from.
Usefulness Rating: C+
Magic Key - the magic key is found very late in the game, and like most of our miscellaneous items, it only serves one good purpose: to unlock the numerous doors that exist in Death Mountain. If it were found earlier, though, it'd take a lot of fun out of the game's puzzles.
Usefulness Rating: C-
Wizardry Series
Magic Wand - the magic wand is often overlooked by both the novice and experienced Zelda player, and is one of the items that isn't explored in future Zelda titles. It makes for an excellent long-distance weapon that fires rapidly, and very few enemies have a defense against its beams (or against fire). It makes a great supplement when Link isn't at full strength and doesn't have sword beams.
Usefulness Rating: B-
Magic Book - the magic book only exists to enhance the power of the magic wand. Now your beams create fire when they end. Not terribly useful, unless your enemies happen to touch the fire.
Usefulness Rating: D
Candle Series
Blue Candle - Link puffs out some fire from this candle and creates several effects: he can burn down bushes, damage enemies that run into the flames and he can even light up dark rooms in the underworld. This opens up a lot of exploration opportunity for Link, and several heart containers/items/rupee gifts are impossible to get without this item.
Usefulness Rating: B
Red Candle - The same as the Blue Candle, only this candle can fire more than once on the same screen. This would prove useful offensively, only that you get the magic book and the magic wand soon after you get this.
Usefulness Rating: C-
Archery Series
Bow - the bow is simply that...a bow. It doesn't come with a quiver or arrows...it's just wood and a string. However, you cannot win the game without finding the bow, and once you buy arrows, the bow makes for a lovely secondary weapon, as it will in most every title afterwards.
Usefulness Rating: B+
Arrows - one of the only items that you are required to purchase and cannot find. Once you purchase arrows, your rupees turn into arrows. These make a great secondary weapon coupled with the bow.
Usefulness Rating: B
Silver Arrow - while the silver arrow has only one use, something I detest for an item, that use is to finish the game. So its usefulness is quite high. You cannot defeat Ganon without these (which makes me wonder if he's a lycanthrope).
Usefulness Rating: A+
Medicine Class
Letter - the letter is something one of the old men in Hyrule tells you to deliver to the old woman. Sketchy. Good thing you can't read it. What it does is allows you to buy medicine. While limited, this limited use is essential to your survival in this game, because going into these dungeons without a red potion is ludicrous.
Usefulness Rating: A
Blue Potion - the blue potion heals Link completely and fills all of his heart containers.
Usefulness Rating: B+
Red Potion - the red potion heals Link completely, filling his heart containers and turns into a blue potion.
Usefulness Rating: A+
The Final Showdown
 |
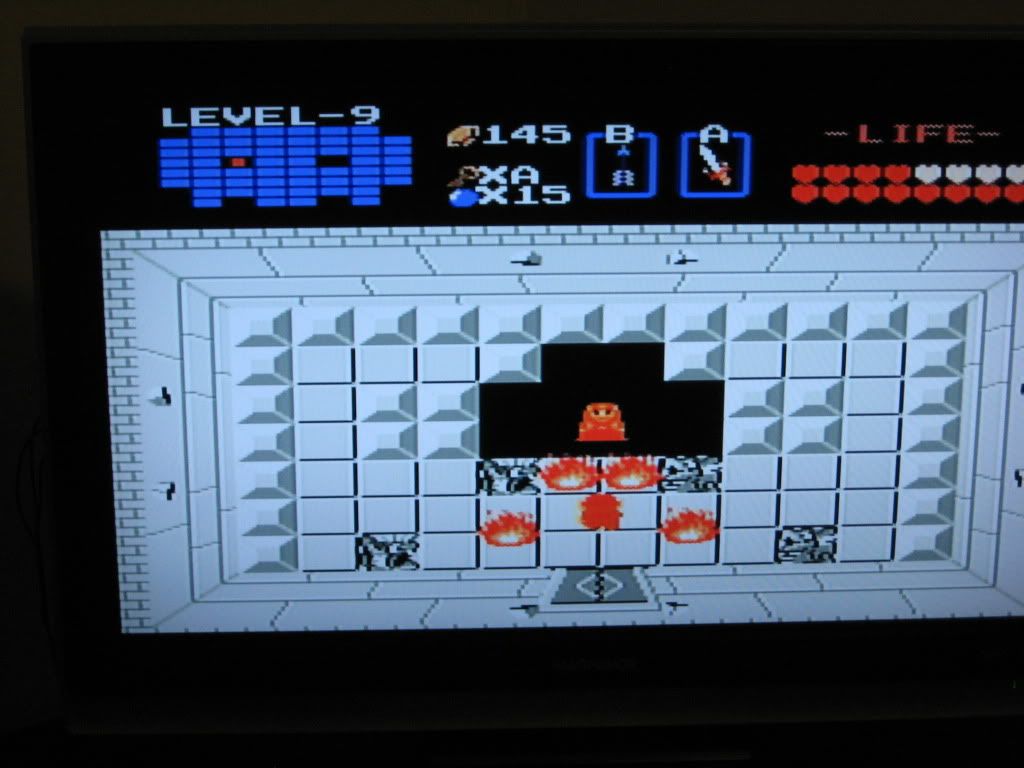
| Link Finds Ganon! |
Finally I have you cornered...for all of Hyrule, for Zelda...I shall strike you down!
The fight with Ganon in this game is the ultimate let-down. Like the coward he is, Ganon stays invisible for most of the fight, firing unblockable fire at us. So I just rapid fire my sword at him, slashing away...until he is finally visible and stays that way, shocked that we figured out what to do (not that difficult, really). Then, one silver arrow. ONE. And Ganon transforms from an intimidating pig into a pile of dust before our eyes, leaving the Triforce of Power behind.
 |
| Ganon's Ashes and the Triforce of Power |
Well, that was disappointing...but it's done! It's all done, and Hyrule is safe. No wonder Ganon had such strong underlings working for him...he's a slouch!
 |
| Zelda's Prison Chamber |
One would think that being a Princess with her knowledge of magic, fire wouldn't be a good way to hold her...but then, what do I know, I'm just the Hero of Time.
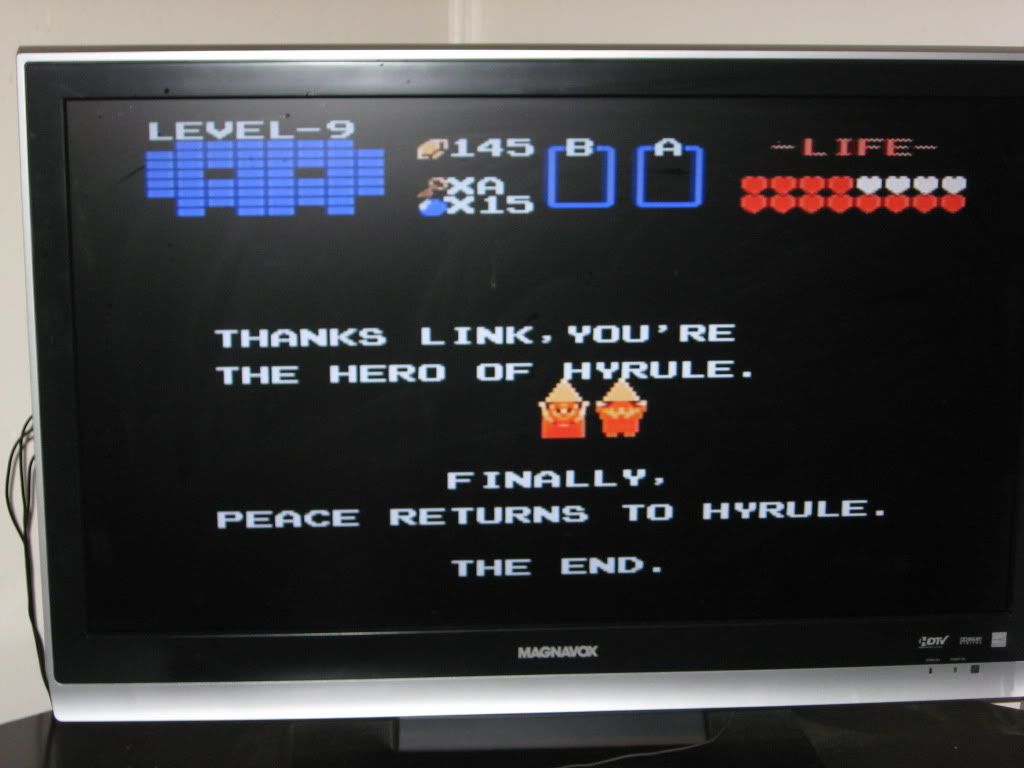 |
| The Ending Screen - Peace Returns to Hyrule |
Ah, finally I can relax...wait a second. What is this about "a new quest will start from here."? I'm very confused...
One of the most endearing things about the first Legend of Zelda is the existence of a second game within the game. While it's not much different from the original (the story and items are the same), the sequence of items, the dungeons and the over-world are setup differently, much like when Princess Peach asks Mario to "accept a new quest" in Super Mario Bros. (These two games have a lot in common, it seems.) What this does, however, is enhances the replay value of the game, giving you, basically, nine new dungeons and a whole new overworld to explore even if under the same plotline. This increases the value of your game cartridge 200%, since you are in a way buying two games for the price of one. Now, what is the negative to that?!
Thanks for following The Legend of Zelda (The First Quest). We shall commence shortly with the next game in the series, The Legend of Zelda (The Second Quest).
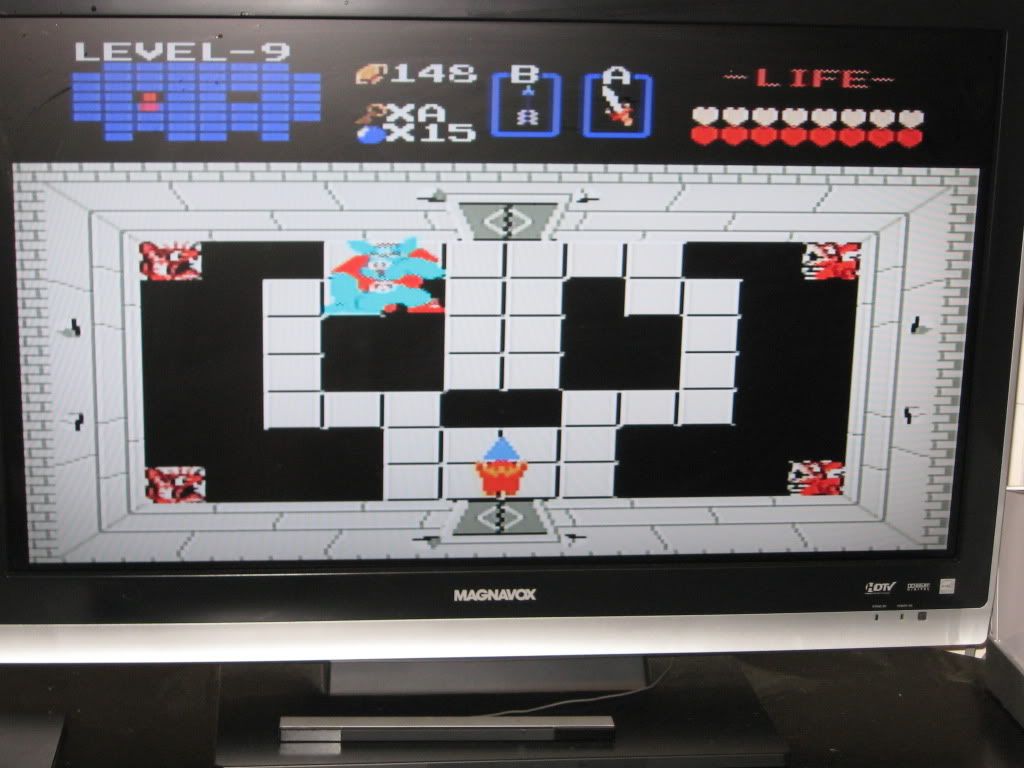
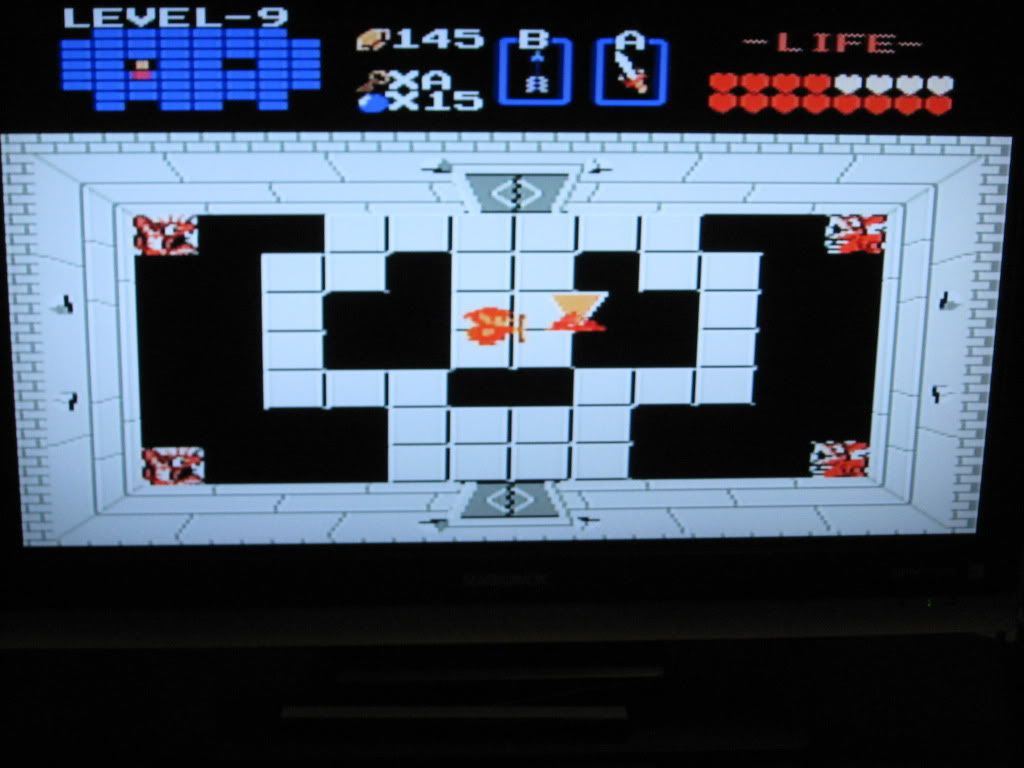
Level Nine - Death Mountain
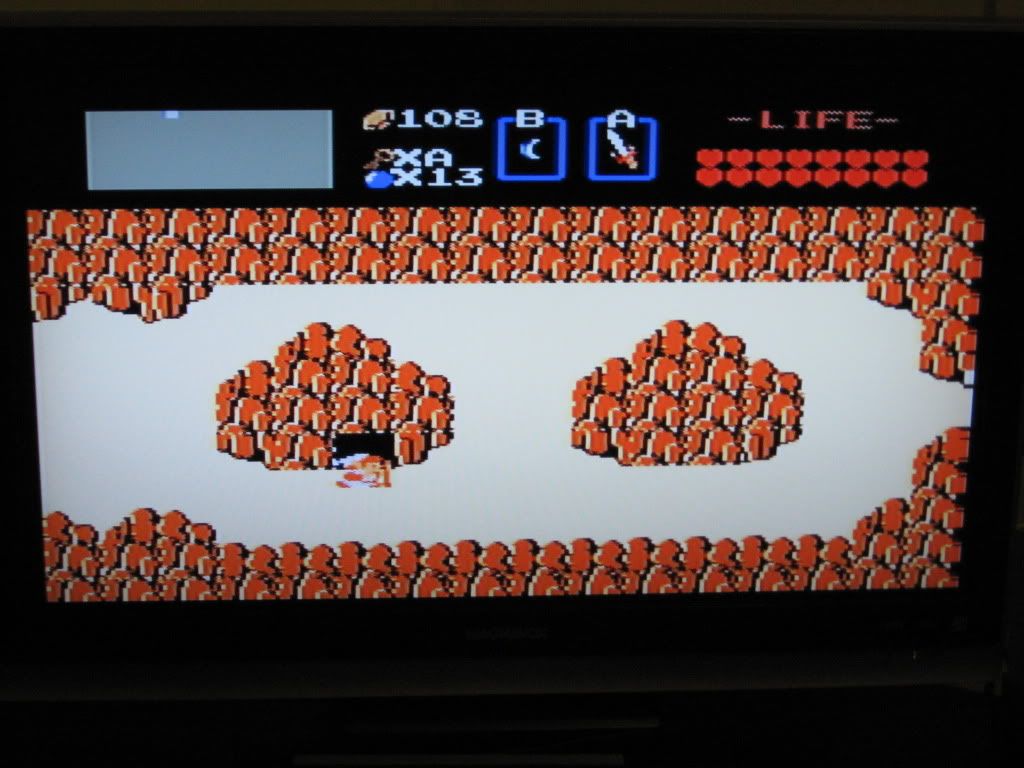 |
| Spectacle Rock |
How'd this cave door get blocked in the first place...physics is weird.
So here we are...the end. At the very least, of the first quest. (Of the entire game, we are only half-way there.) Death Mountain is a humongous dungeon...but unlike any other dungeon, this is one where the puzzle element and action elements come together very well. The puzzle element is that while there are an obscene amount of rooms, you only need to visit about half of them to get the two items hidden within and get to Ganon. The action element is that this dungeon is filled with a variety of enemies (meaning you must use strategy) who are both easy and difficult. I love this dungeon, especially as a final one. Here's Link, chilling at the entrance to this level.
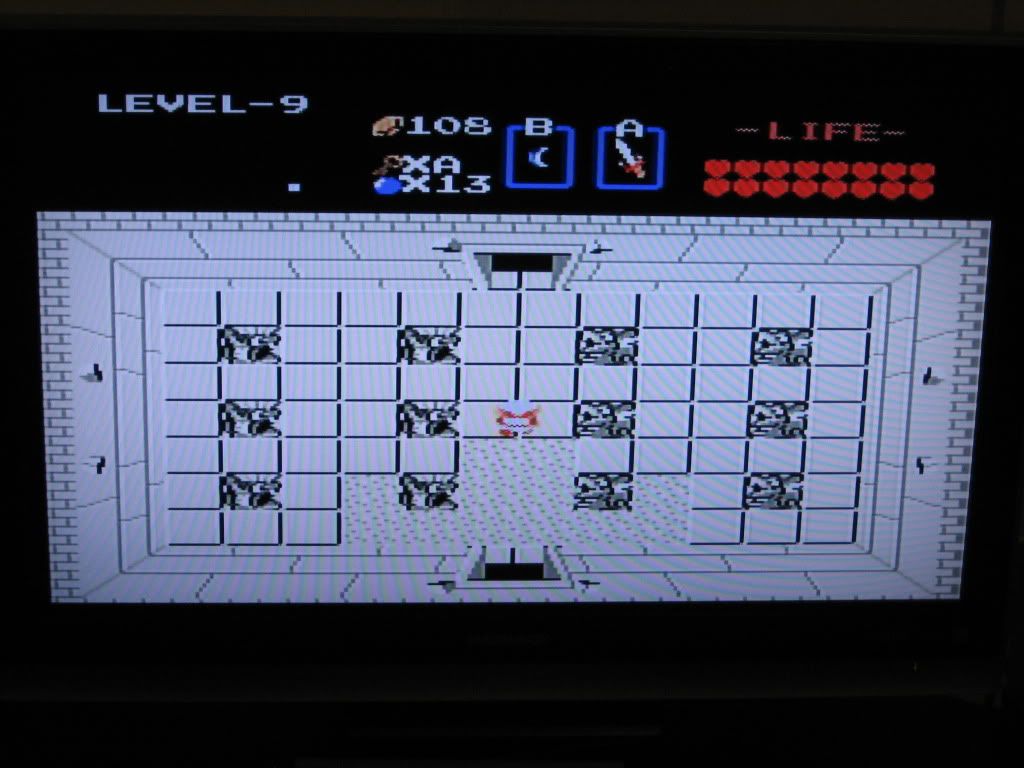 |
| Entrance to Underworld Level IX |
I'm shaking with anticipation!
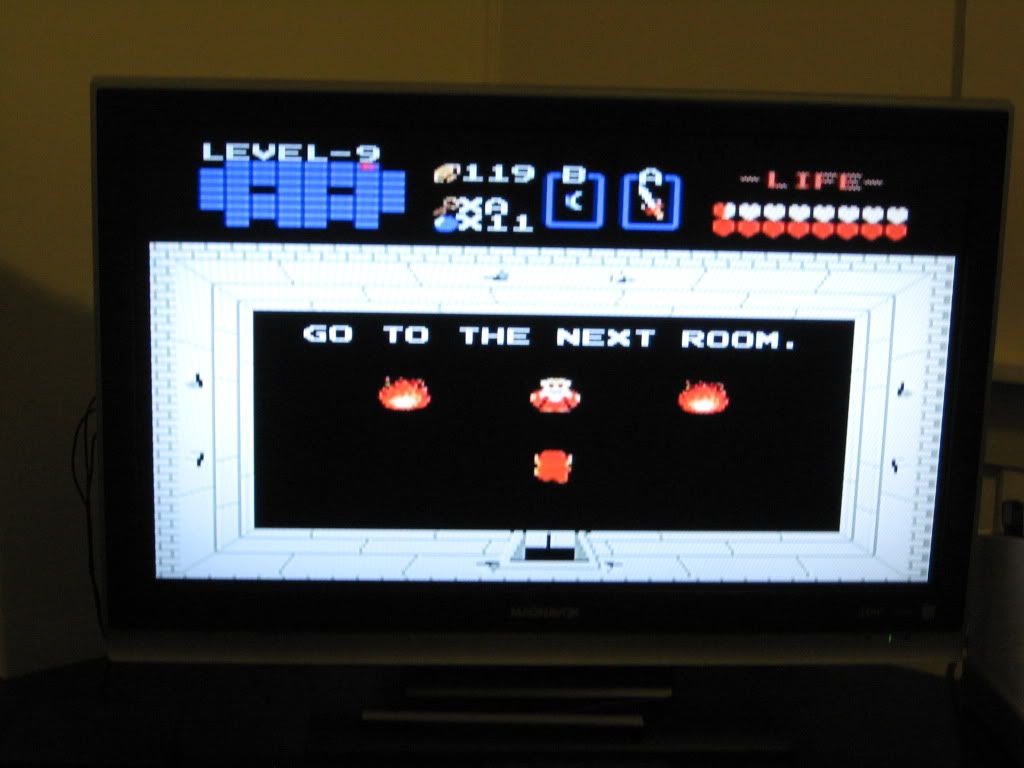 |
| The Old Man Gives Another Hint! |
Okay...sure!
The only time the old man decides to be direct with you. Of course, because this is the only time he doesn't talk in riddles, I don't think it's all that believable until I realize that the only door in the room will have me back-tracking. Of course, bombs are quite straight-forward...not much of a puzzle/riddle. First time I played this game, I was a little bit taken aback by this room and the purpose of this room...after all, isn't dungeon foraging about going to the next room?
So about an hour later, I finally reached the boss' chamber...time for the ultimate showdown!
Level Eight - The Lion
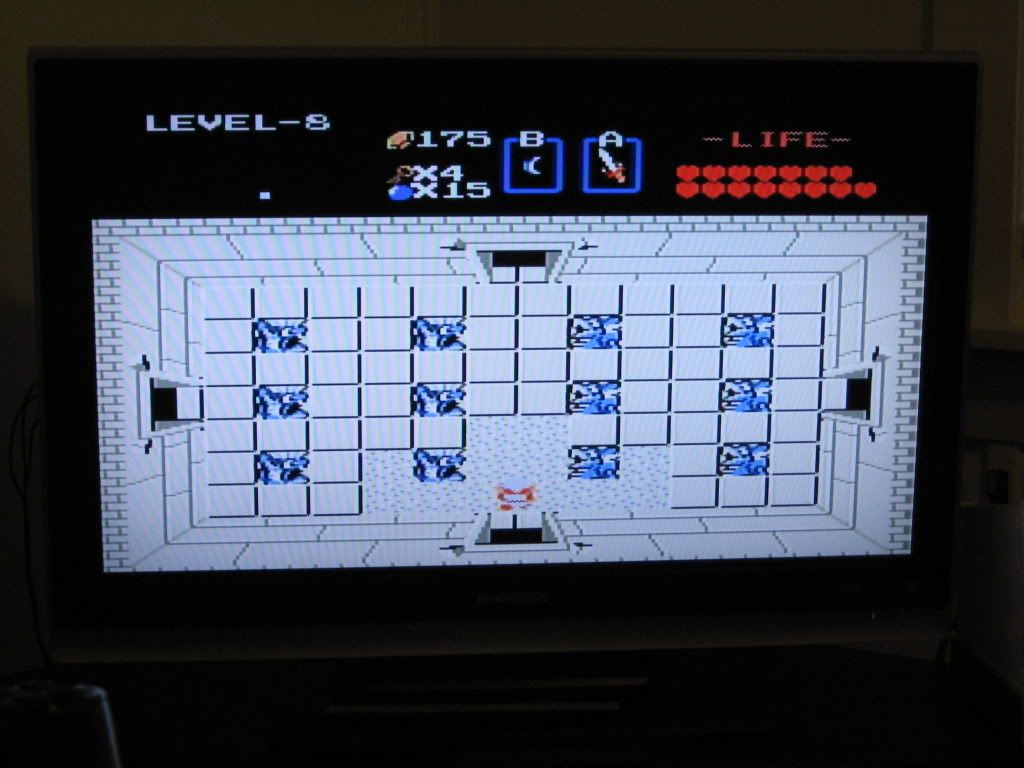 | |
| Entrance to the Underworld - Level VIII |
This is it! After I make it through here, the Triforce will be assembled!
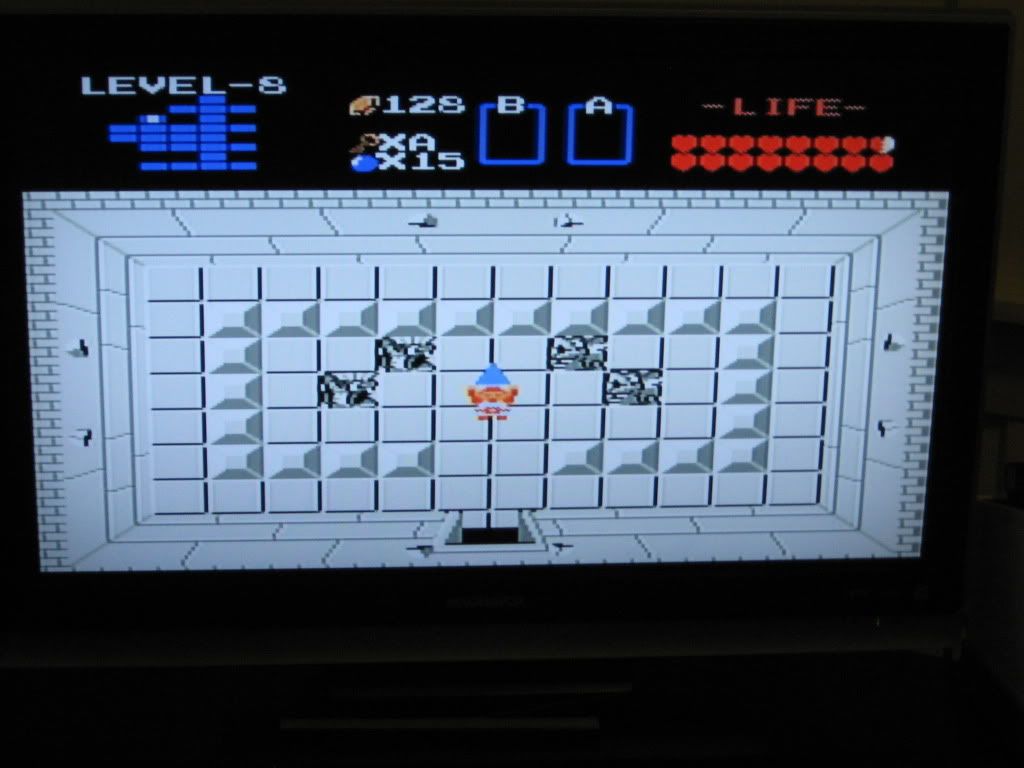
Much like the dungeon before it, Level 8 is quite simplistic...although it doesn't offer much in the puzzle category, it is full of darknuts, making the action component of this dungeon at least a bit of a challenge. That aside though, Level 6 still posed the most threat of any of the underworld levels. This one is in the shape of a lion's head though, and that is kind of cool. I mean, who doesn't think lions are cool!
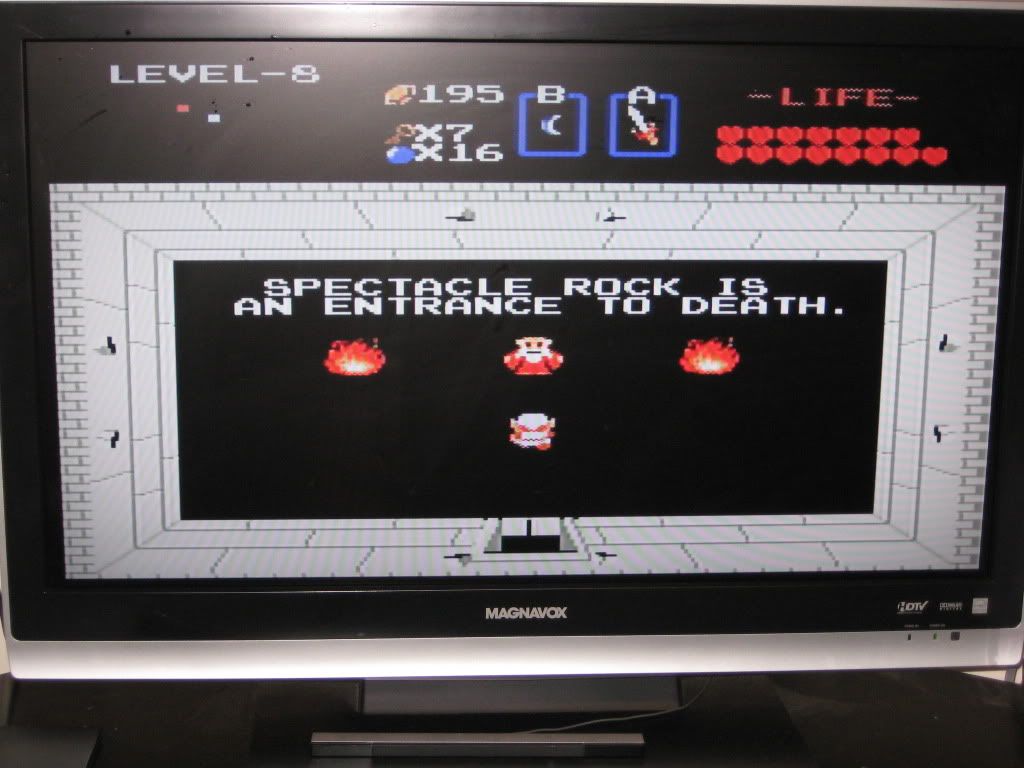 |
| Ominous... |
I might be a little fearful, if I knew what this guy was talking about in the first place!
The final dungeon's old man just decides to tell you where you'll find the final dungeon, period, of the game. Though again, that's exactly what he says, but he isn't going to say that to you directly. In retrospect of my analysis of the old man comments, how lame would it be if the old man here said "Spectacle Rock is where you'll find Ganon." Awesome, but lame. But one also has to think if they know enough to interpret all this information as riddles to Link...if they really want to help Link, why aren't they direct? Probably an old man thing that none of us can understand.
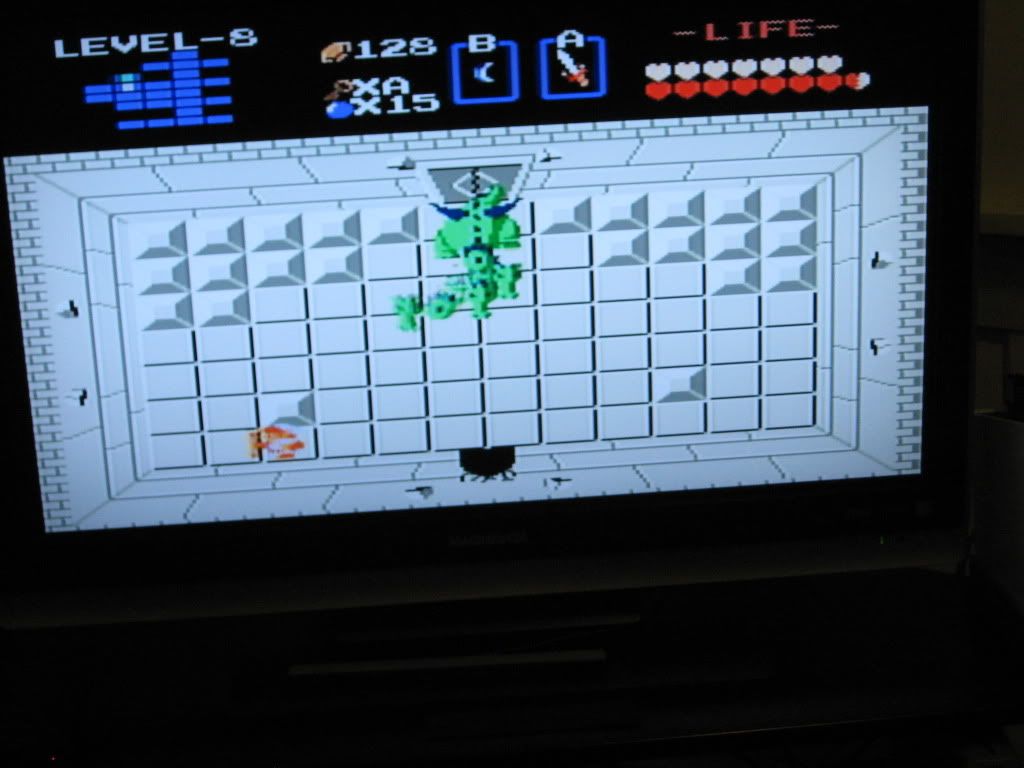 |
| Underworld Boss VIII - Gleeok |
You just can't keep a dog down...
So the last dungeon throws Gleeok at us for a boss. How nice. This boss is definitely the hardest of the bosses, not that any of the bosses are in particular hard. He is, however, more difficult in his own way to defeat than Ganon (which is sad, really). Sorry my picture of this Gleeok is a little tilted...I ran into the room and took the picture quickly before I could get shot with too much fire.
 |
| Triforce of Wisdom Piece #8 (The Final Piece) |
At long last, the Triforce of Wisdom is assembled! Now I can confront Ganon and put an end to all of this...his reign of terror ends now, baby!
Level Seven - The Demon
 |
| Underworld Entrance - Level VII |
Is it really physically possible for a place like this to exist beneath a little pond?
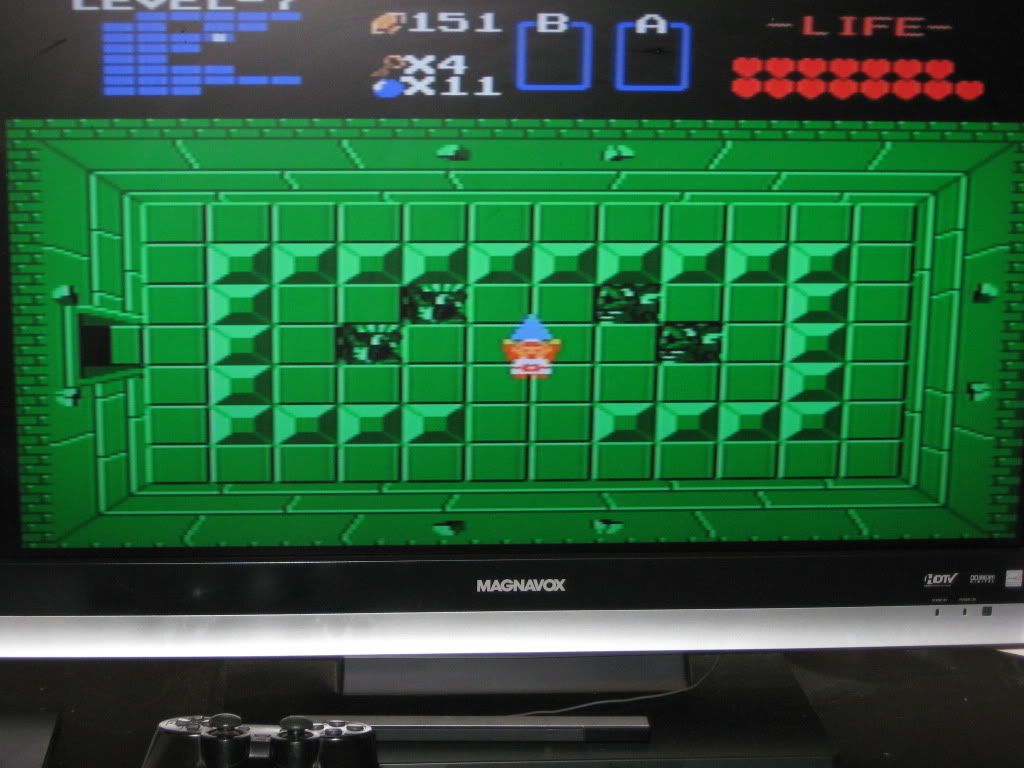
All right, three dungeons to go and this game is through! Hard to believe it. For some reason or another, level seven is downright easy. While it is huge, the path is straightforward, there is very little to find off the beaten path and on top of all that, the enemies present in this dungeon present little to no challenge. There is only one room in this entire dungeon that irks me...where you face wallmasters and bubbles in the same room, and you must defeat the wallmasters in order to obtain a key. Granted, wallmasters are stressful enough (no one wants to reset the dungeon to its original state and to be taken back to the origin point) but on top of that, to worry that you will be rendered weaponless and knocked into one of them by a bubble...yeah. An irritating room, to say the least. I think the major purpose for this room is to prepare you for the second quest, where more bubbles come into play...with worse effects.
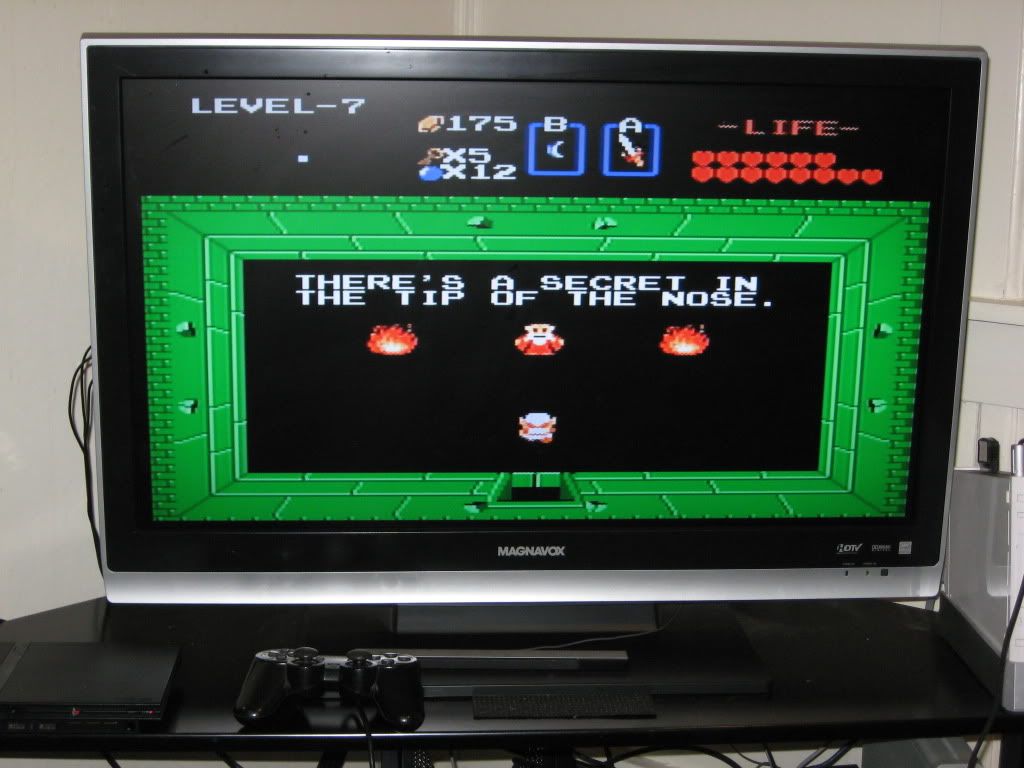 |
| Bless you. |
I'm not digging for gold for you old man...
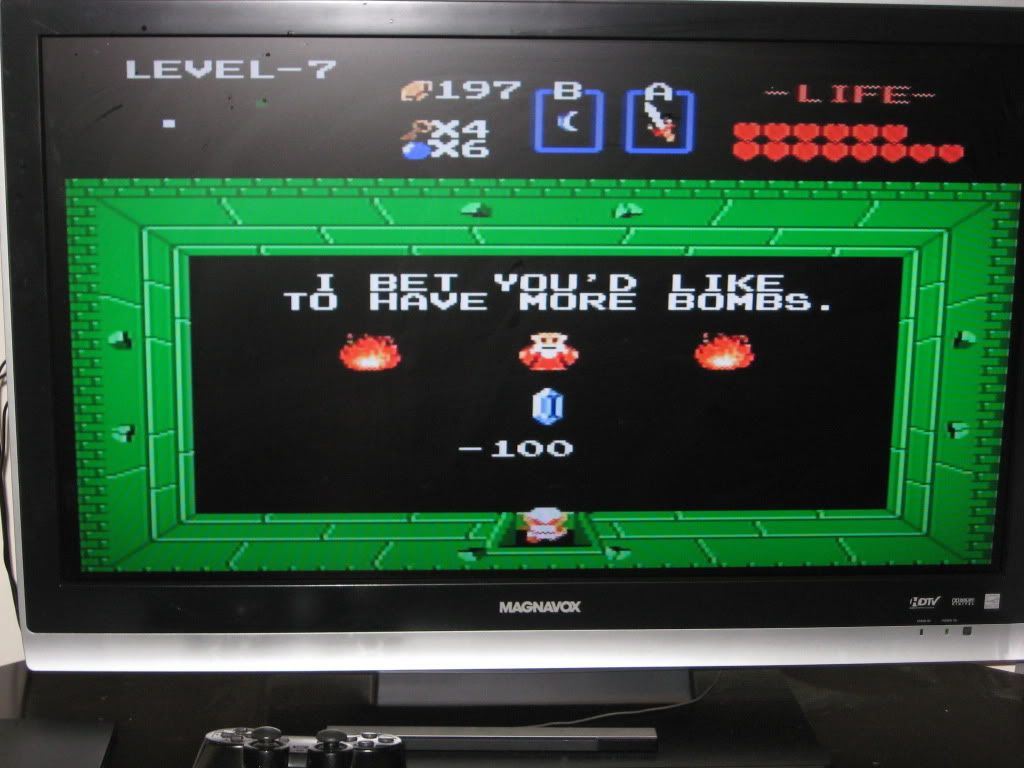 |
| Second Bomb Upgrade |
More explosive power?! I can't wait! Wait, you won't just give it to me? Don't you know who I am and what I'm doing, old man...
In this dungeon you get another lame hint which leads you to the second bomb upgrade. Granted, compared to latter games, the upgrades in this game aren't so great (8/12/16 as opposed to 30/60/90) but the usefulness of bombs is heightened in latter games as well...and I never needed anymore than 16, and only really needed the full sixteen in the final dungeon. Either way, you eventually come upon this lovely creature blocking your path...
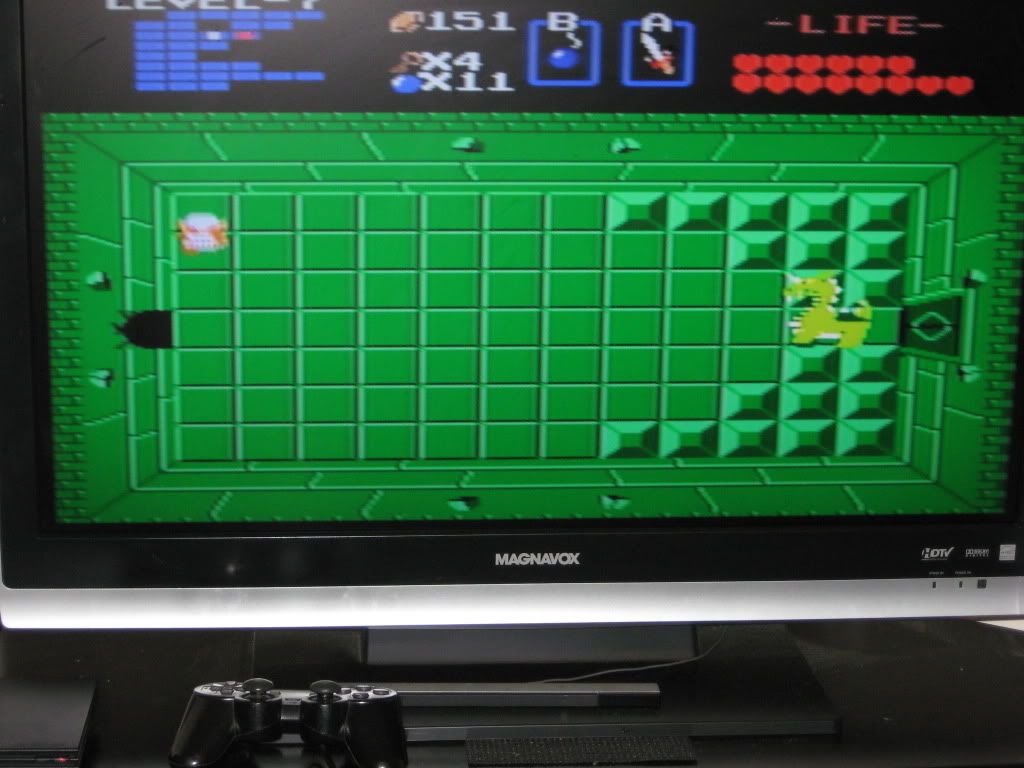
 |
| Unhappy Goriya |
Why so serious?
So I don't know why this Goriya is grumbling or what he's grumbling about, but he's not letting anybody past him. Maybe he's just having a bad day. Then you give him the monster bait and he disappears? Weird. I guess Ganondorf doesn't feed his minions. That's a bad mistake, isn't it? Oh, well, all the better for us.T
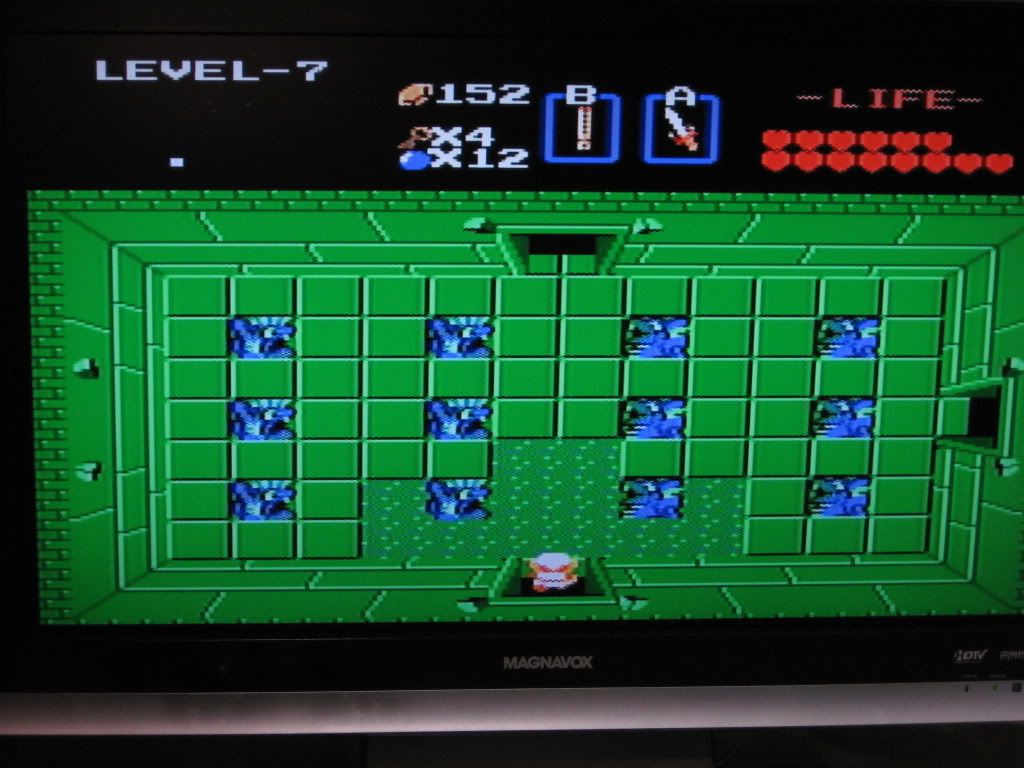
 |
| Underworld Boss VII - Aquamentus |
This has got to be a joke...
Topping off the lack of strong baddies in this dungeon and the overall lack of puzzles for us, this dungeon throws Aquamentus, the game's first boss, at us for our boss fight. And us with twice the defensive power and three times the defensive power...and without that he was a joke. This could barely even be called a boss fight, except that he was guarding the Triforce. Really, this dungeon was a disappointment. Dungeon six was difficult and then seven drops off completely, a breeze in the wind.
 |
| Triforce of Wisdom Piece #7 |
Sometimes I think getting this piece was just plain too easy...
Level Six - The Dragon
 |
| Entrance to the Underworld - Level VI |
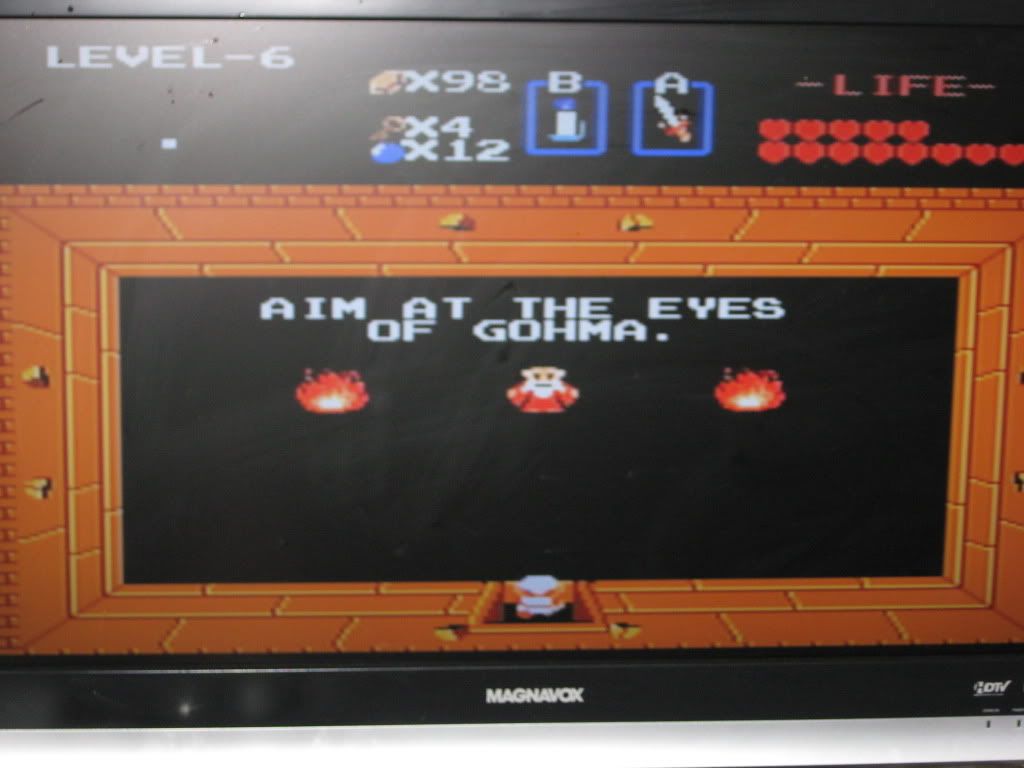 |
| Listen to the Old Man |
If I remember Impa's advice correctly...Gohma has one eye. But thanks for the advice!
Again, another obscure hint from an old man that says everything...if you don't decipher this hint to mean that the eye is the boss' weak spot and you should hit it with a certain weapon (the bow and arrow) then you will spend time and energy in vain trying to slash away at the boss. He's just trying to be helpful, you know? Hints in future games are a little less obscure, especially since they usually come post-context so that Link isn't wondering on earth the person's talking about.
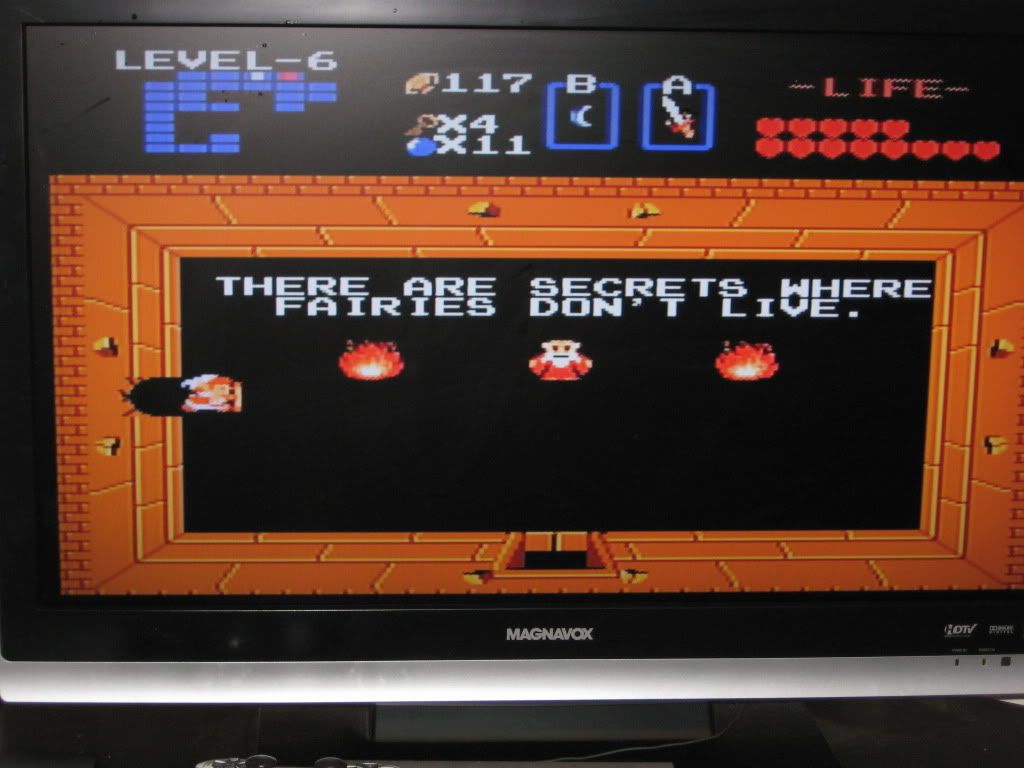 |
| Obscurity |
Listen, old man, that's just like telling me that there are secrets where there isn't water.
I've talked a lot about obscure old man hints, however, dungeon six's takes the cake. This one tells you that there are secrets where fairies don't live. Of course, he's pointing out that the entrance to dungeon seven lies beneath a pond which appears to be a fairy pond...except there's no fairy. However, as Link commented, to tell Link that there are secrets where fairies don't live...virtually every square in Hyrule doesn't house a fairy. Does every one of them house a secret? No...especially not the one that he's trying to specifically allude to. (Of course, the idea of a specific allusion is just plain hypocritical.) I just find this humorous every time it happens, so I keep showing it to you.
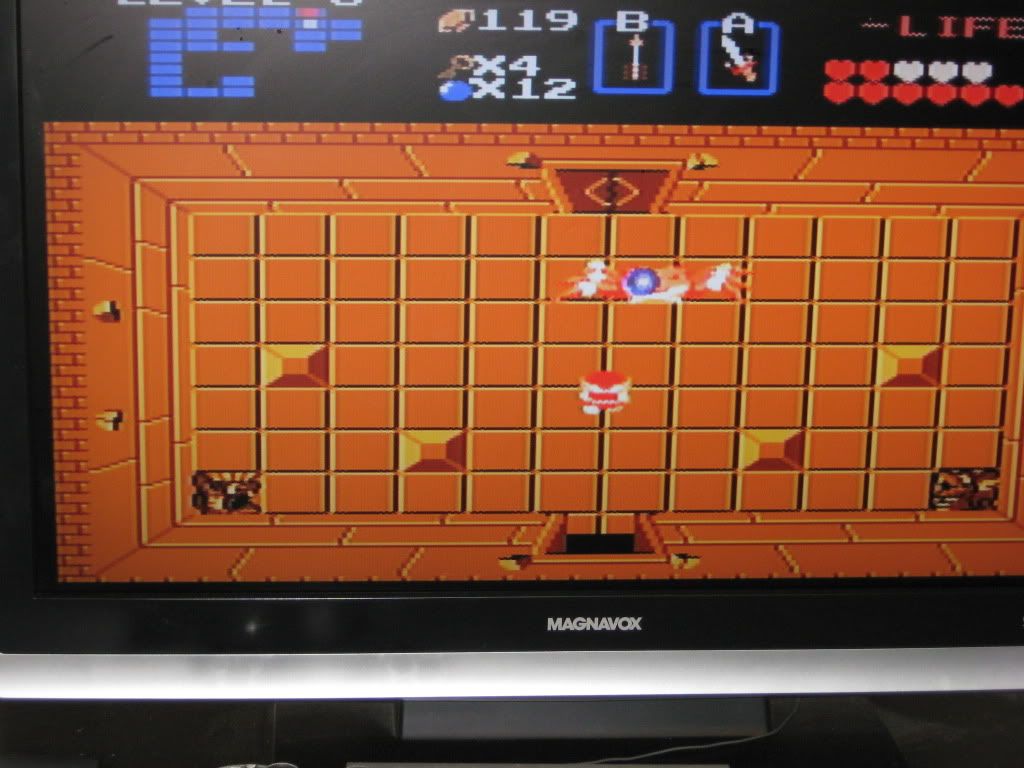 | ||
| Underworld Boss VI - Gohma |
Under the sea, under the sea...darling it's better down where it's wetter...
Gohma starts the decline in difficulty of the bosses. The only difficult underworld boss, really, is Gleeok. Gohma is irritating because he won't stand still and the opportunity to fire an arrow into his eye is slim, but with the amount of life energy we have at this point there's not much those fireballs can do to us unless we're a really bad shot. This is a little bit of a disappointment, but there's not too much one can expect from eight-bit graphics and a limited combat engine. All these factors included, I suppose it is a decent challenge...and perhaps the game figures that since the enemies leading up to the boss chamber are such a pain, maybe the boss should be simple to defeat (provided you can decipher the secret to defeating it.)
 |
| Triforce of Wisdom Piece #6 |
Yahoo! This one was well earned!
The sixth piece of the Triforce of Wisdom is won. The first quest is now two-thirds complete, the entire game 33% done. We're on our way.
Level Five - The Lizard
The fifth level of the first quest is one of those levels that offers a good deal of puzzle: you have to hop, skip and jump on one leg in order to find everything, and uncovering everything is much to Link's advantage as this dungeon hides the bomb upgrade. Most future games would feature an upgrade to each numerical part of Link's arsenal, typically via fairy, but this one had old men augment your capacity...if you were willing to augment their cashflow. Hyrule must be a capitalist society! One way or the other, at this point in the game I am also getting a little tired of the dungeon paneling and the monotonous music that comes with every visit to the underworld. Nothing much original in this soundtrack, although it was the basis for some grand orchestrations in the future. A diamond in the rough, I guess.
Note how the old man gives you the answer to your mystery every time he speaks; but he never really even says anything because of interpretation. Now, this dungeon hands you the most useless item in the First Quest: the Recorder. It has TWO purposes: to weaken the Digdogger so you can defeat it more easily (it's not invincible without) and to unveil the entrance to a dungeon. Nothing more frustrating than an item that outlives its usefulness after ten to twenty minutes of gameplay. I think they could have expanded on the uses more (beyond just being a random teleporter). I think maybe some of the puzzles in the later dungeons could have required the recorder...that might have been fun.
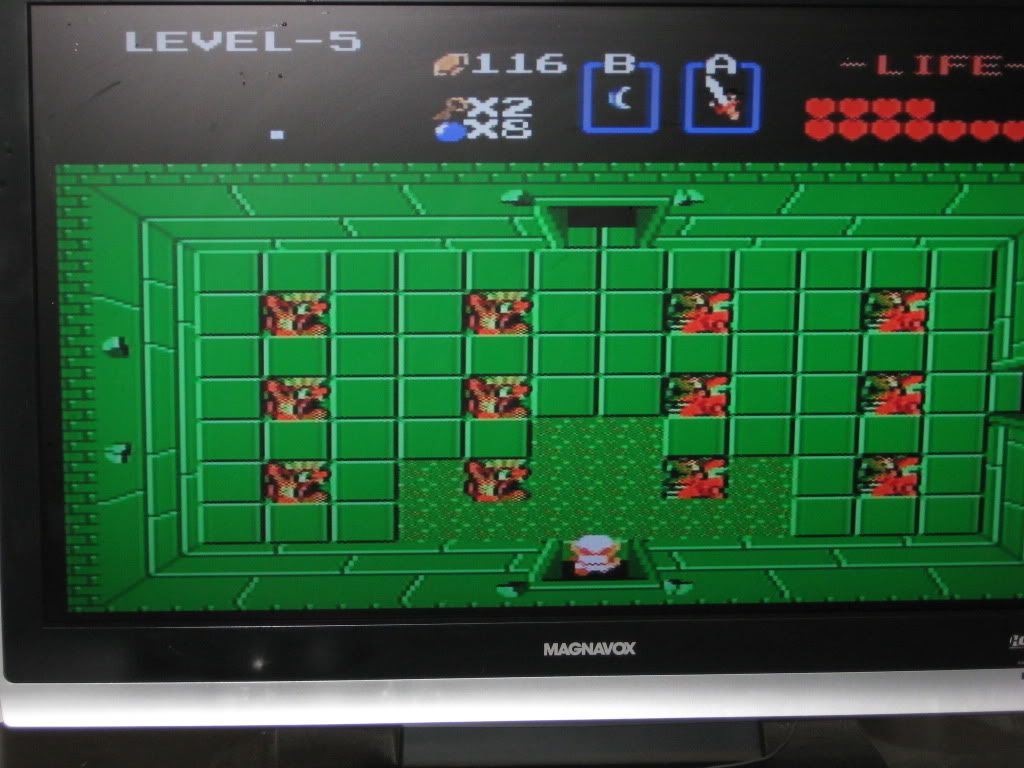 |
| Entrance Underworld Level V |
There she goes, there she goes again~
So here we go into the fifth dungeon of the game, over half-way through it! This dungeon only offers a little bit of challenge in the way of action in the form of darknuts and pols voice. Darknuts have always been one of my most hated enemies, especially in this game: at least other games make it easier to penetrate their iron defense. These guys are quick and only vulnerable from the back, and they like to face Link (obviously) from the front. For some reason, they seem to be very skilled at turning just at the right moment. I've always liked to employ what I call the "patience" strategy with them. I'll wait in the doorway, fire swordbeams until the darknuts figure out what I'm doing, and then retreat into the doorway (because for some reason, these, and all other enemies with the exception of wizzrobes, are too numb to figure out that I'm still in the room). A strategy that might be described as cowardly, yes but it's safe and effective...and I like to save my energy for the boss room. The challenge of every dungeon in this game is keeping your energy for the boss fight, since the fights with the minor enemies will drain you quickly if you're not careful.
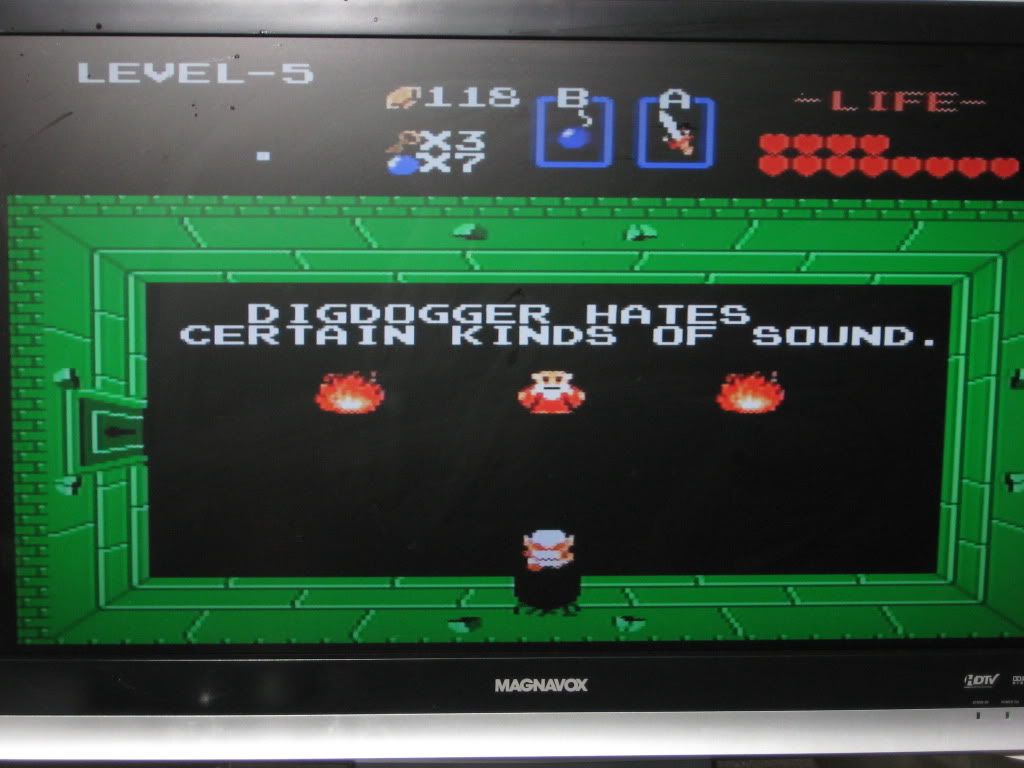 |
| Listen to the old man... |
Might you elaborate, old fart? I've never seen, nor heard, of a digdogger before in my life...and are we talking singing, scatting, instrumentation, yelling, what? So open ended...
Note how the old man gives you the answer to your mystery every time he speaks; but he never really even says anything because of interpretation. Now, this dungeon hands you the most useless item in the First Quest: the Recorder. It has TWO purposes: to weaken the Digdogger so you can defeat it more easily (it's not invincible without) and to unveil the entrance to a dungeon. Nothing more frustrating than an item that outlives its usefulness after ten to twenty minutes of gameplay. I think they could have expanded on the uses more (beyond just being a random teleporter). I think maybe some of the puzzles in the later dungeons could have required the recorder...that might have been fun.
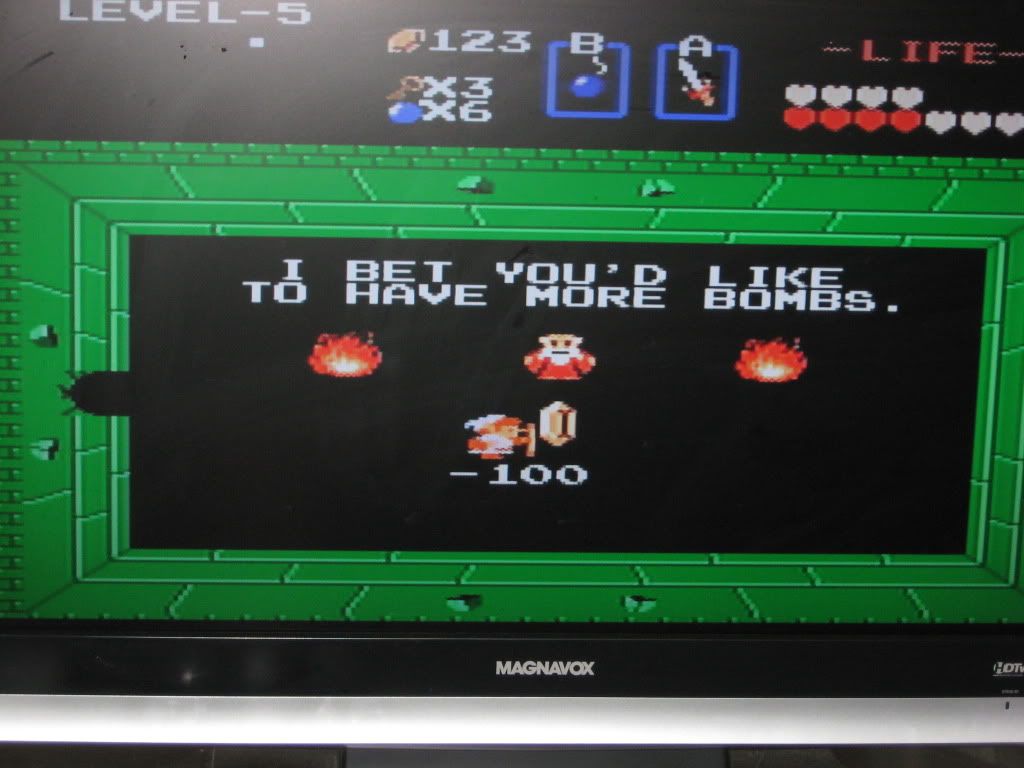 |
| That's a fool's bet |
You're damned right I'd like to have more bombs!!!
So finally we come to the Digdogger. This thing looks like a frisbee on the screen and is arguably the easiest boss of the game. You just toot your flute, and slice him twice. Seriously. Where's the challenge in that? All in all, if it weren't for the fact that level five does force you to scout around and actually be clever about your rupees...one might say that it's almost as easy as Level I. Of course, it doesn't help that at this time in the game, Link is of considerably greater power than he was when he first started. (Those who don't buy the magic shield or blue ring, or who don't pursue at least the white sword are in for a tough ride.)
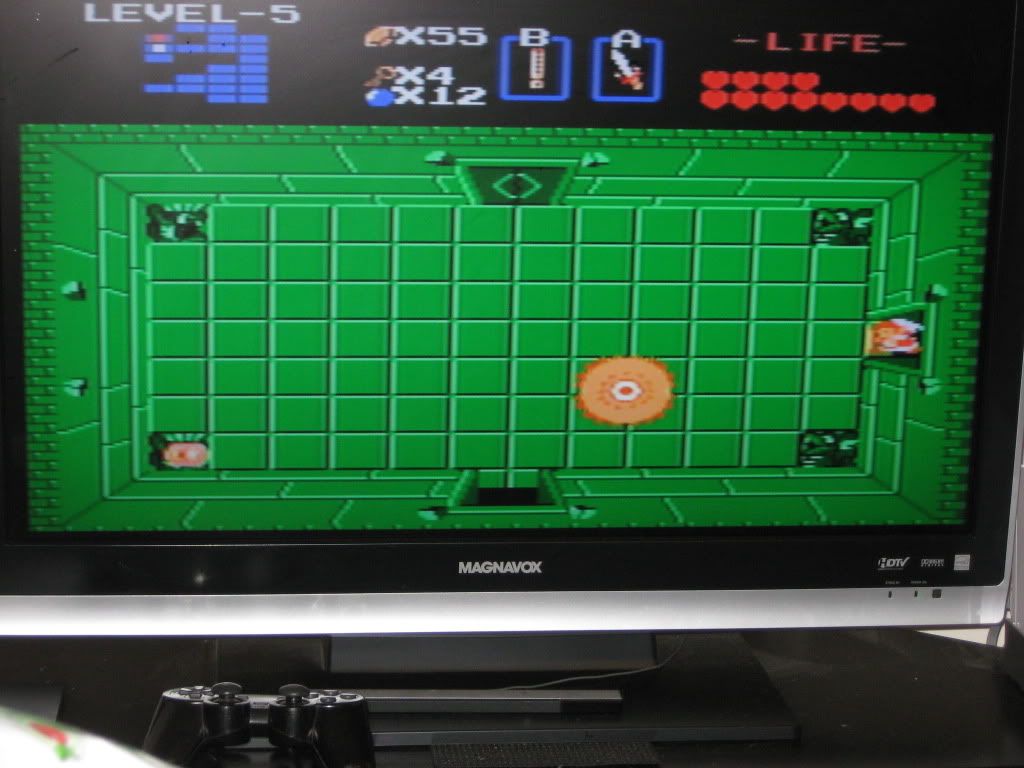 |
| Hello floating eye...I mean, Digdogger! |
What kind of monster did I just stumble upon...
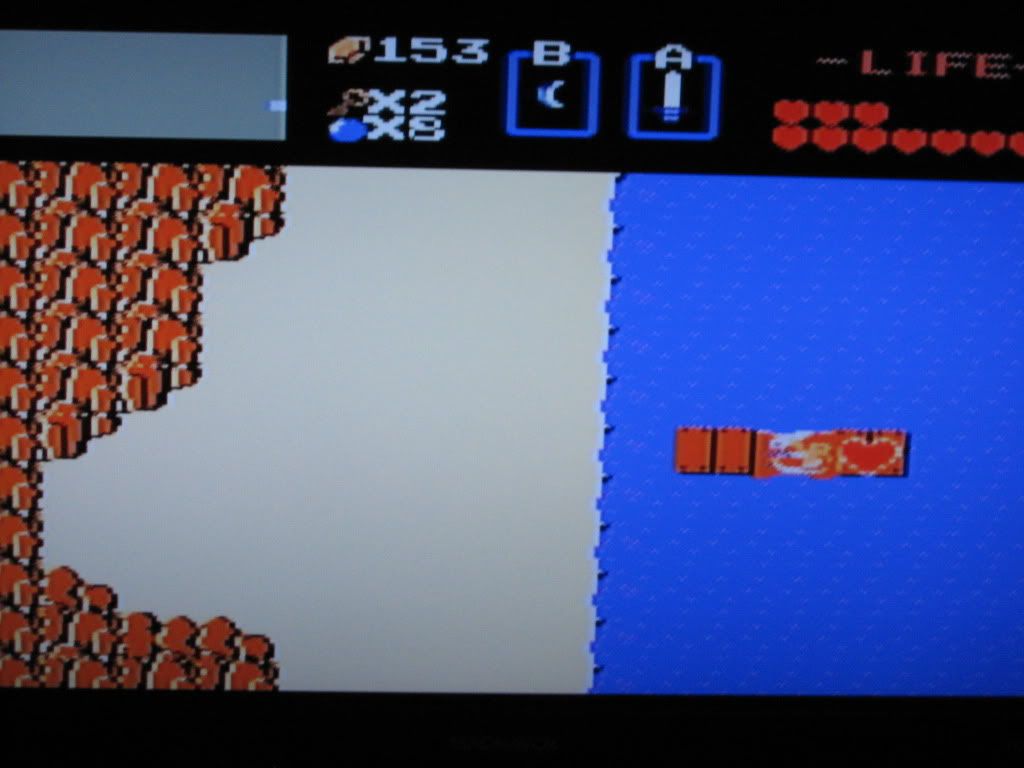
 |
| Triforce of Wisdom Piece #5 |
Yes! All of these small triangles are finally starting to look like a bigger triangle! I'm so close to saving Princess Zelda and Hyrule, I can taste it!
Wednesday, July 28, 2010
Equipment Run #2
Now, in any Zelda game, all of the time can't be spent going from one dungeon to another, with the time spent in the overworld simply for travel, right? It's about time in this quest to take a breather from the underworld and to collect a few things that thanks to our augmented collection of items we can now collect.
There is always something seemingly special about adventuring in the over-world after one is nearly fully-equipped. With a full inventory, there is no puzzle that can be thrown at Link to which he must inadvertently forfeit his efforts on, so the entire world is now open to him...with the grand exception, of course, being the final dungeon. (The silly old man tells you that since you don't have the entire Triforce of Wisdom, you're a pathetic weakling...so go back to the world below and put it together, baby!)
Since in the very beginning of the game I uncovered a vast majority of the over-world hearts, there was only one left...one within plain sight that just couldn't be reached by any other means except that was available after this past dungeon. Sillyness, I know. One would think the game would make it easy to get the heart containers in plain sight. Oh, well. Digressions aside, I took the time to stock way up on rupees and to complete my inventory (with the exception of the future dungeon items). The most important thing on this trip was the Magical Sword.
This is the final sword upgrade in this game (only three swords? Awww.) But ohh...this one is so sweet. The magical sword augments Link's offensive power four-fold from the wooden sword (two from the White) so now, there's really no enemy in the game with a strong defense. Not to mention, despite the eight-bit graphic, it has a pretty hilt that the other two swords lack!
 |
| Link finds the final over-world Heart Container |
I finally have you...you've been so close, so far away for too long!
The other item to get in this run was the Power Bracelets. While in most Zelda games after it these strength-imbuing bracers find much more use, purpose and necessity...they simply open more of the over-world for Link to explore in this game, and are not really required for him to finish it. I have never liked items present in a game that don't have much use...rather than close it off period, have these areas open. They are fun though, in that they finally open up Zelda's response to Super Mario Bros. "Warp Zones." Although I must say, it seems that the Mushroom Kingdom's advancement in this technology is a little better. Not to mention that not being lazy and wandering the over-world benefits Link in that he gets richer that way.
 |
| The Power Bracers - Useless! |
All this thing does is makes it easier to do hard work...ugh! Wonder why those Armos Knights made such big deal about protecting it from me...
To get to the Power Bracers and the much more important and essential Magical Sword, Link has to traverse the quintessential Lost Woods. While they are a very simple puzzle in this game, these woods have made showings in some fashion in other titles in the series that were to come. It was something that definitely became tradition in Hyrule. And remember...ULDL. That almost sounds like a word, doesn't it?
 |
| Link Traverses The Lost Woods |
I think I might be lost...which way was I trying to exit again?
 |
| Link obtains the ultimate sword - The Magical Sword |
I can feel the power coursing through me...this thing is awesome! I wish I had met this guy a long time ago.
Now that our equipment run is finished, it is back to dungeon running!
Monday, July 26, 2010
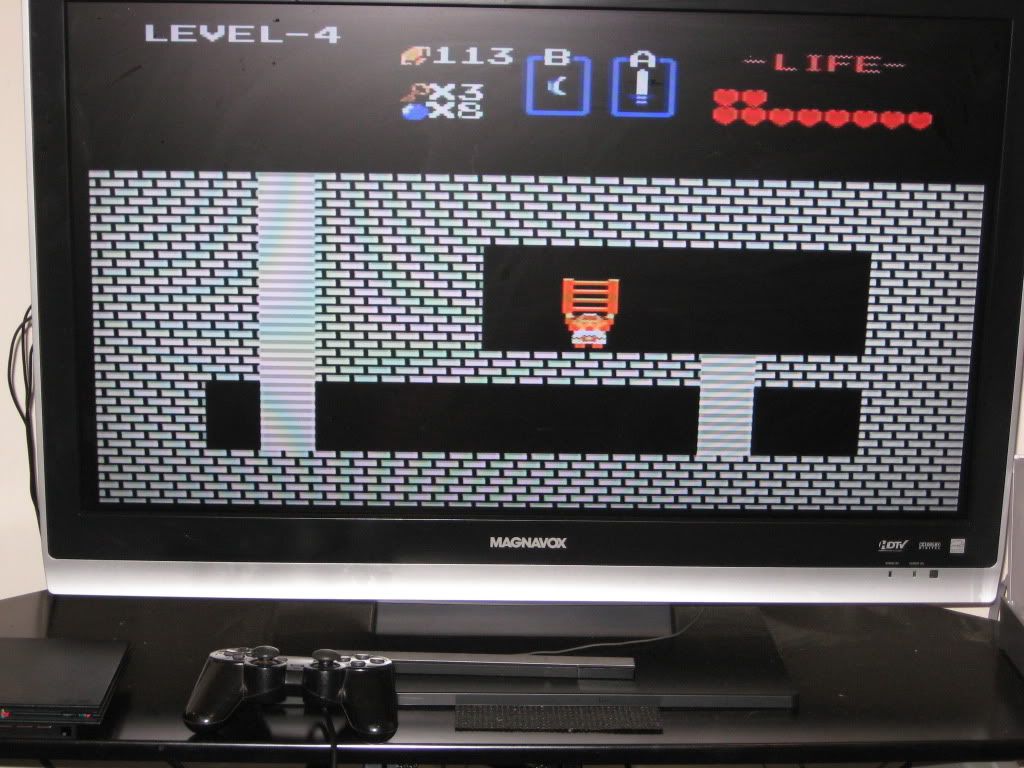
Level Four - The Snake
All right, so here we go into the fourth dungeon! I feel like I just started this thing and it's already half-way over. Either way, after some adventuring and slicing and dicing, here we are at the entrance to Level Four.
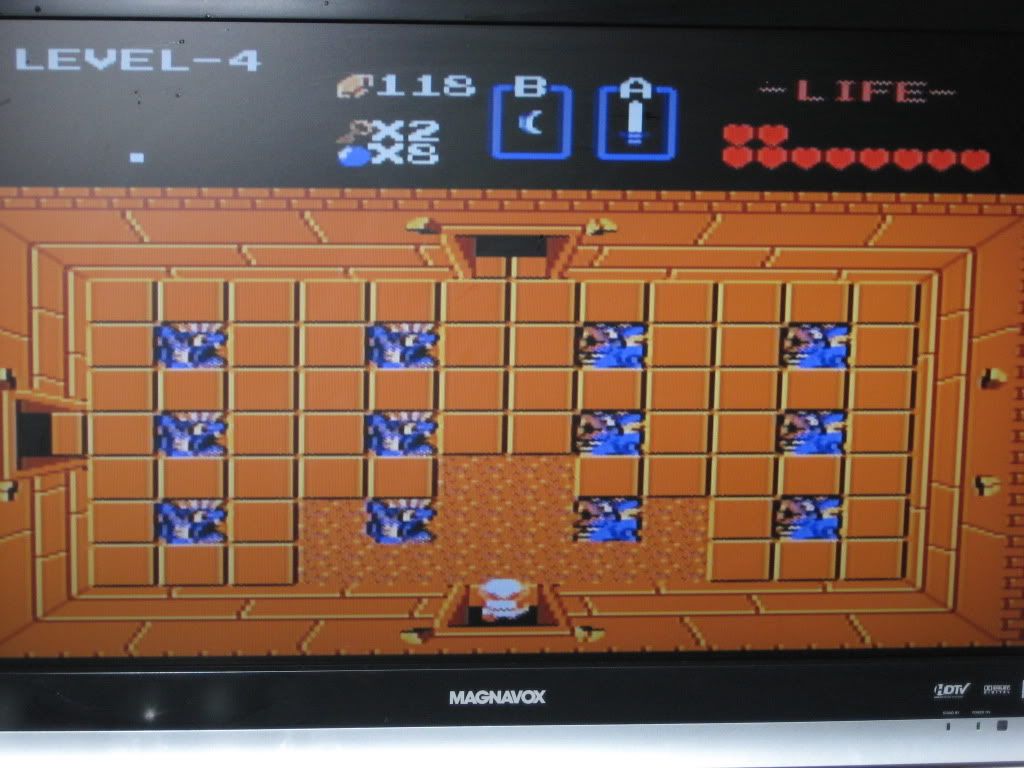 | |||
| Underworld Level Four - The Snake |
Yet another underworld locale...I thought the previous coloration was bad. Yellow? This looks like vomit. Now I just know something bad's going to go down here...
So this is the first dungeon where things begin to get difficult. Link encounters Like-Likes for the first time ever. These infamous enemies, starting in this, the very first Zelda, and in countless Zeldas ever after, are one of the most irritating enemies to expunge. Why? They touch you, and they aren't out to destroy you, no. They just seem to have issue with your shield. You know, that thing that you spent a lot of money on. And in this game, money = time. So losing your shield means spending time to get a new one. They're strong too (they took like five to six hits with the white sword) and seem to love to hang out with bubbles (the enemies which inhibit your sword ability). Just plain irritating.
This dungeon offers the first sets of bombable walls and some of your first sets of off-paths, making it not straight-forward. The infamous push-the-block and find stairs puzzles are also present too, so the game is taking it up a step in this dungeon, making things a little more difficult to find and forcing Link to deploy more devices and cunning to explore the dungeon to its fullest and exploit its troves.
 | ||
| The Stepladder! |
Well, this is lame...a stepladder. When will this come in useful for besting monsters?
It won't, Link. And yes, aside from the raft, this just may be one of the lamest Zelda dungeon prizes. Its uses are limited; however, it provides access to a heart container that we want and also, from this dungeon on there are often rivers and lava pits in rooms. What the stepladder's hidden use is to provide a save-haven spot to fire sword-beams from, or to stab from as enemies walk by, with the only worry for Link being flying enemies. No matter what, it seems as though every item in every Zelda has some creative useage to it (even if it is, in its design and intention, quite limited).
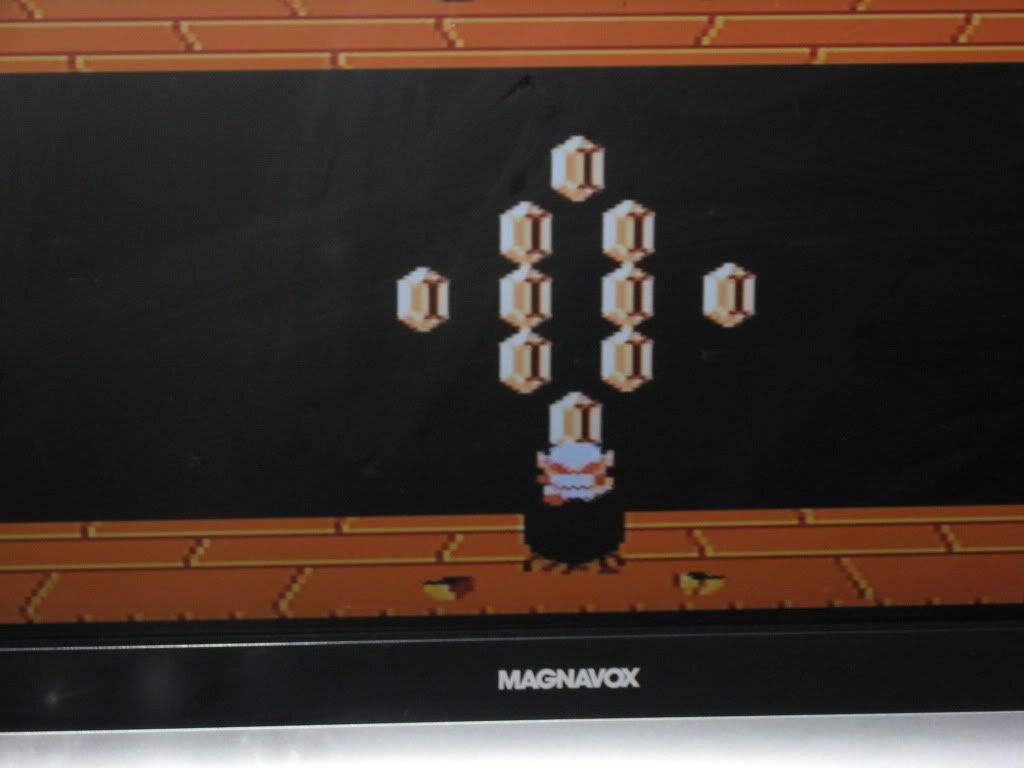 |
| Monsters hording rupees in a dungeon |
Finders keepers! Though I wonder where all of this came from...who leaves money just lying around?
 |
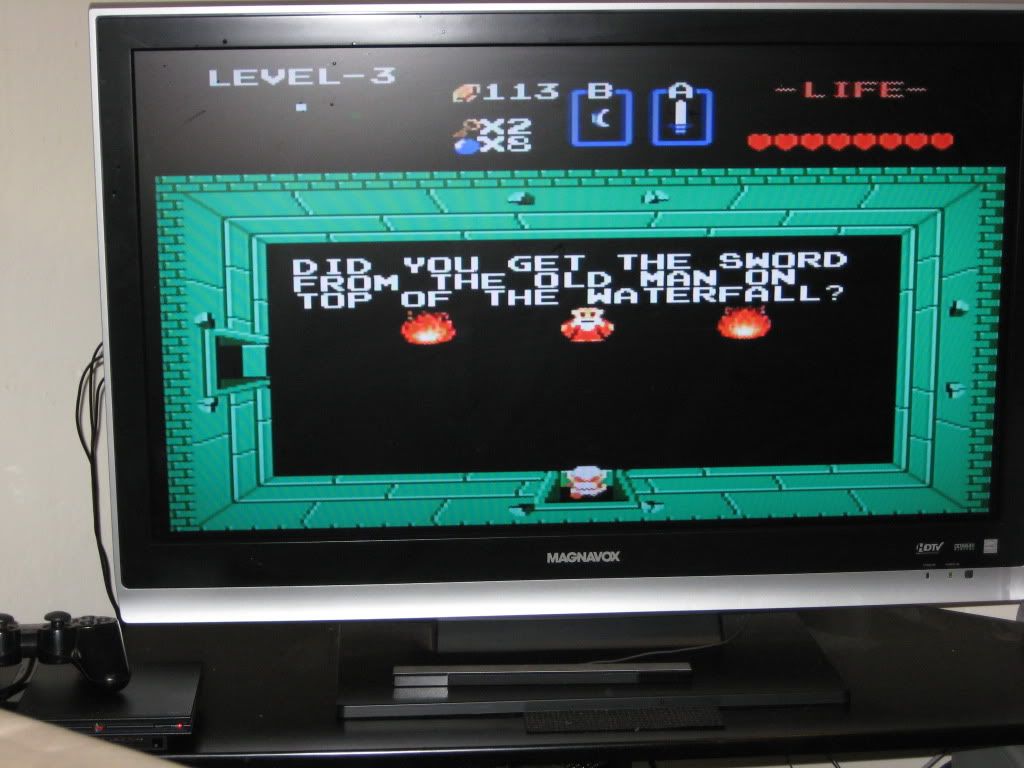
| Another Silly Old Man |
Seriously...won't walking INTO a waterfall kill me? Not to mention considering how many waterfalls there are in Hyrule...which one do you mean? Cryptic silly old man...
So again we visit the cryptic old man, who proves quite silly this time, telling us to jump to our deaths in under-current water in order to find something, apparently. He doesn't tell us what this will do for us, nor is he specific about which waterfall. If I were Link, I'd definitely be frustrated too. Personally, I ignored the old men since their hints were laughable and didn't provide help, just a source of amusement. We went further in, and the enemies in this dungeon as I said were irritating, especially the Like-Likes and a new enemy, Vires. These guys bounce everywhere and then become Keese after being hit, and they always seem to like to chill in packs. Not fun. This, of course, I knew (and I'm sure Link had an idea too) was leading up to something much worse. Dungeons often do that. Sure enough, we were right.
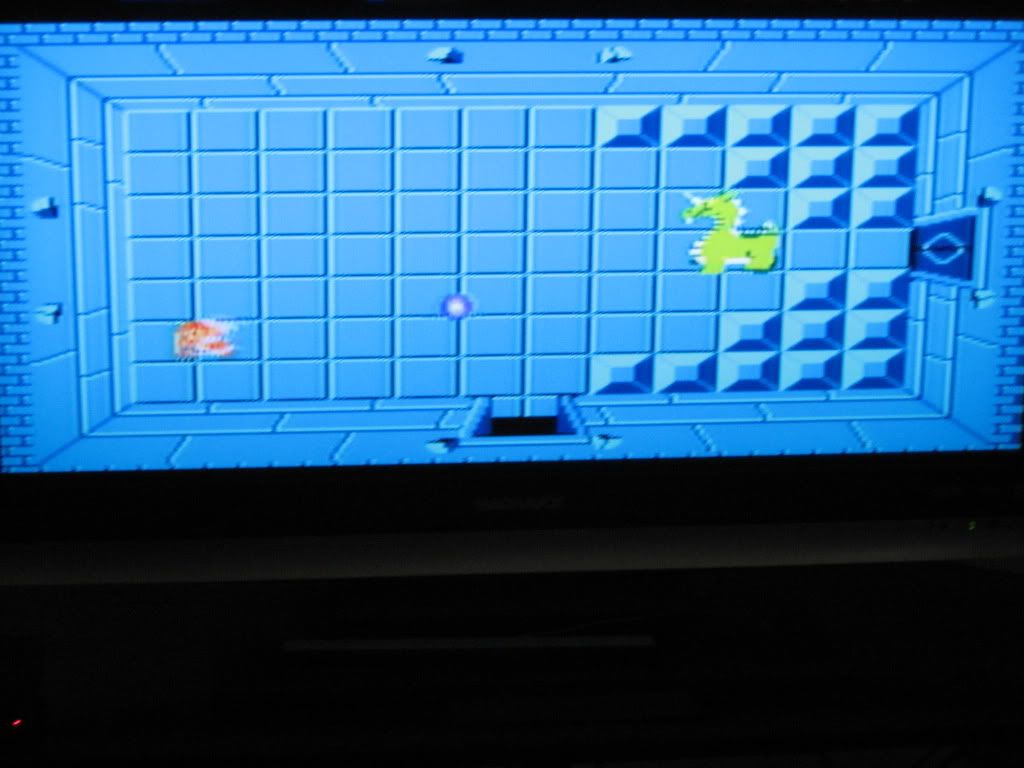
Gleeok is the biggest pain in the butt of a boss. To be honest, he is more of a pain in the butt than Ganon himself, especially as further in the game he has more heads to contend with. As you slice away at him (or fire sword beams from afar while you can) he spits fire...and his heads get chopped off one by one and float around, spitting fire and trying to do Link in. Busy and annoying, and for some reason, Gleeok is very skillful at hitting Link.
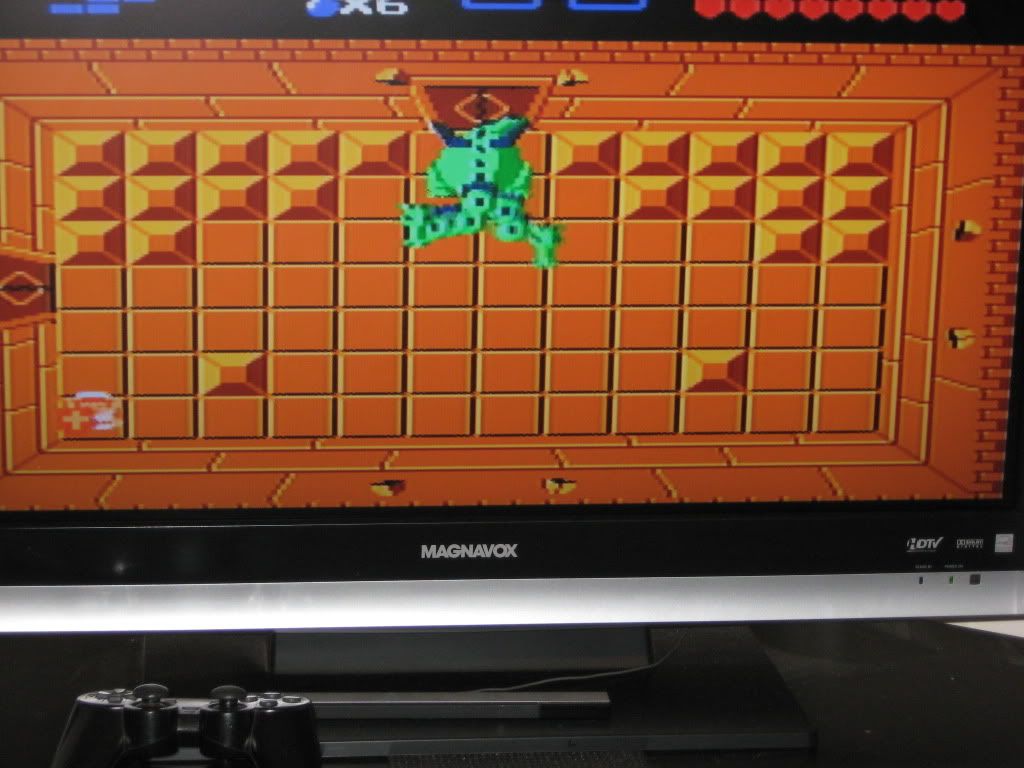 |
| Underworld Boss IV - Gleeok |
First a dinosaur and now a dragon?! What exactly is happening in Hyrule? I've definitely got to uncover this mystery, if not to just make things normal again.
We managed however, and obtained our fourth piece of the Triforce, one that was more well earned than the other three combined. So hold this one above your head high with pride, Link. This is one dungeon we are glad to put behind us.
 |
| Triforce of Wisdom Piece #4 |
Another level completed, many more ahead of us (five, to count them.)
Level Three - The Manji
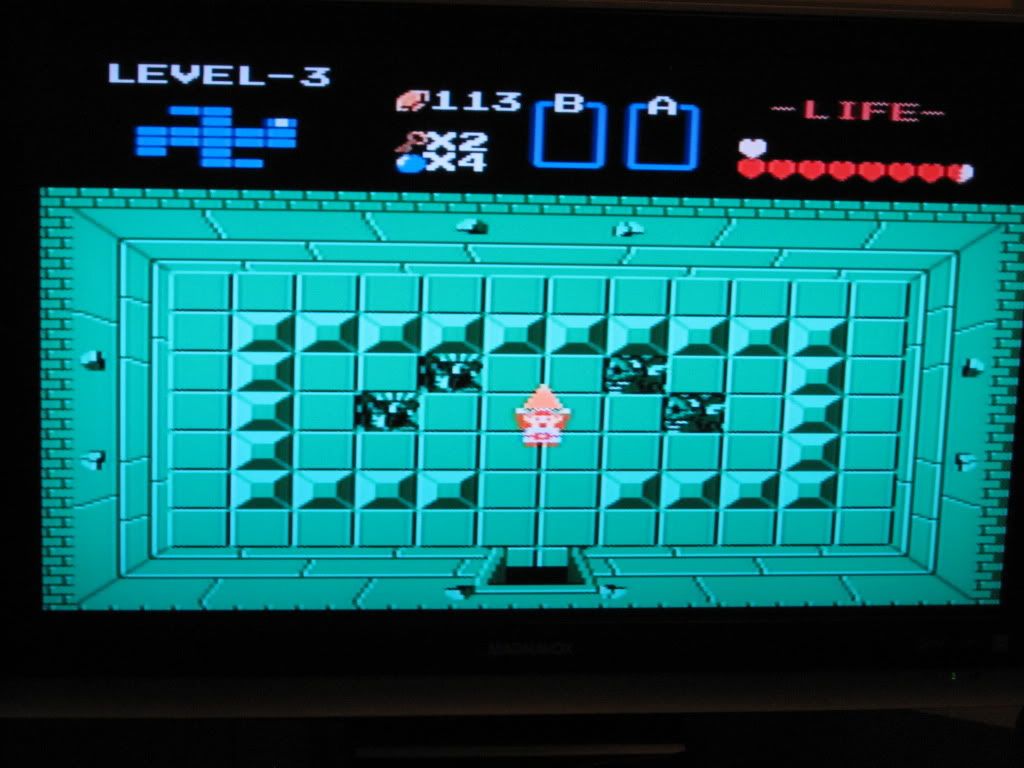
This level is one of interest to note. Perhaps the Japenese weren't sensitive to this at the time, but the manji and the schwastika are synonymous images...perhaps it wasn't the best of choices to use for a floor design for a dungeon in a game geared towards young adults, teenagers and children.
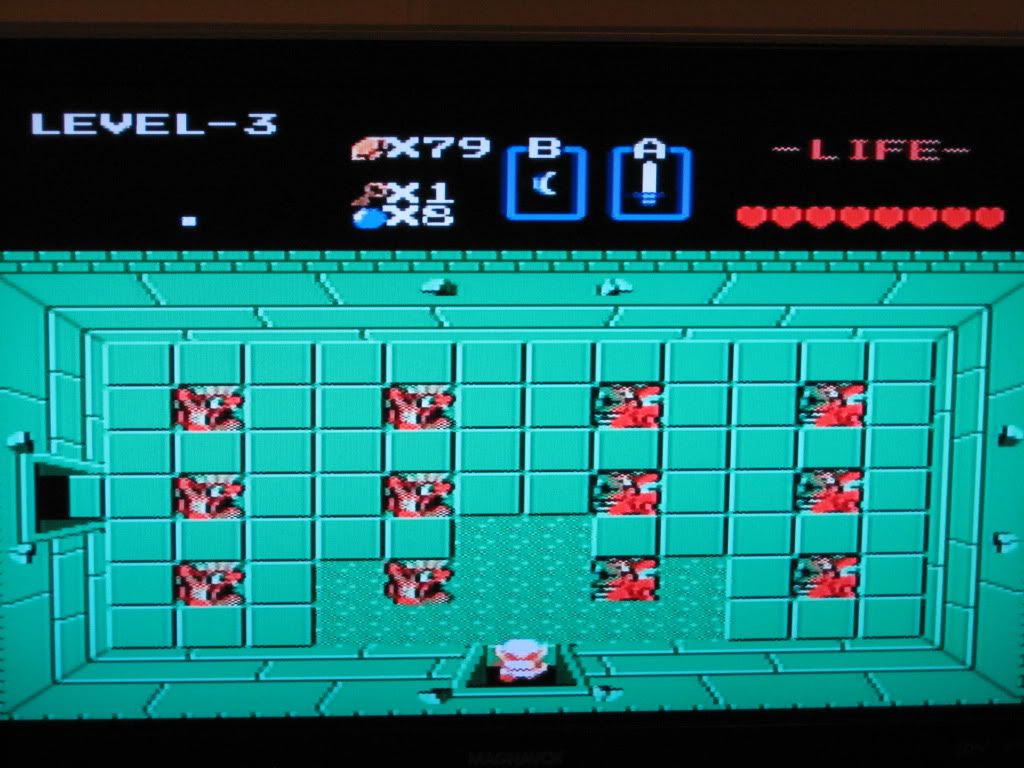 |
| Level III - The Manji |
For some reason, I just don't have a good feeling about this place...and the color strikes me queer.
Yet again we have a dungeon that is rather straightforward, although here we finally encounter some difficult enemies found only in the underworld coupled with a path that isn't straightforward -- the boss is somewhat well hidden, although it is still rather difficult to get lost. This is one of the primary reasons that the game travels at a rocket's pace...the first three dungeons have no step of difficulty between them, and this accounts for, since your game only has one real objective (assemble the Triforce of Wisdom) 33% of the game.
 |
| This Old Man is Blind, But Speaks Well. |
Can't you see that sword is in my hand...stupid old man, what are you, blind?! Oh...my mistake.
This may be, though subtly, one of the only useful hints that you are given. See, at this point in the game, the Wooden Sword is absolutely useless...it takes at least two hits to kill any enemy for the most part, and there are now enemies that divide when you hit them with the Wooden Sword. This is the game's way of saying "You'll regret it if you don't get the White Sword NOW!" This dungeon offers a non-straightforward path and the presence of bombable walls so that we have secret rooms -- in effect, we have somewhat of a puzzle, which is one of the primary reasons we play Zelda!
 |
| Underworld Boss III - The Manhandla |
What is this thing exactly, a man eating plant? Freaky. I told you that I didn't have a good feeling about this place.
Manhandla is the first boss who offers us up a little bit of a challenge. He moves quickly (most bosses in Zelda games actually move quite slowly, making the challenge for us to figure out how to use the weapon we got in that dungeon to defeat them). There is a trick to defeating him that I have heard of from friends and from GameFAQs, however, I have never seen it works: and that is to repeat what you did with Dodongo and lay a bomb in his path to get rid of most of his limbs. I take care of this guy the old fashioned way; I fire sword-beams from afar until fireballs remove that option, then I slice and dice away until I'm all cut up and he is no more. After all, the Triforce heals me up completely. That's a nice little gesture!
 |
| Triforce of Wisdom Piece #3 |
Huzzah! The third piece of the Triforce! Almost halfway there to saving Zelda and restoring some peace to this monster-infested land! That's the part I'm enraged about...all the monsters running about. Interferes with my personal life, and makes my professional life as a hero harder!
There you have it folks; the third piece of the Triforce is obtained and the game is now 33% complete. Just need to collect five more pieces and slay Ganondorf...nothing big! : )
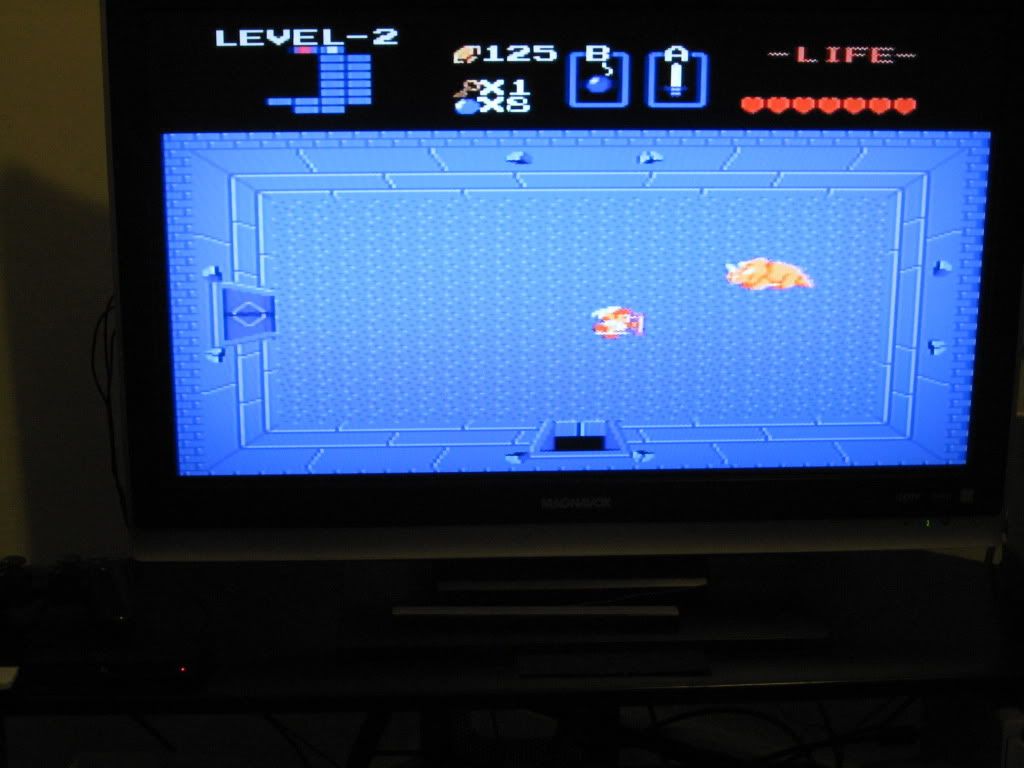
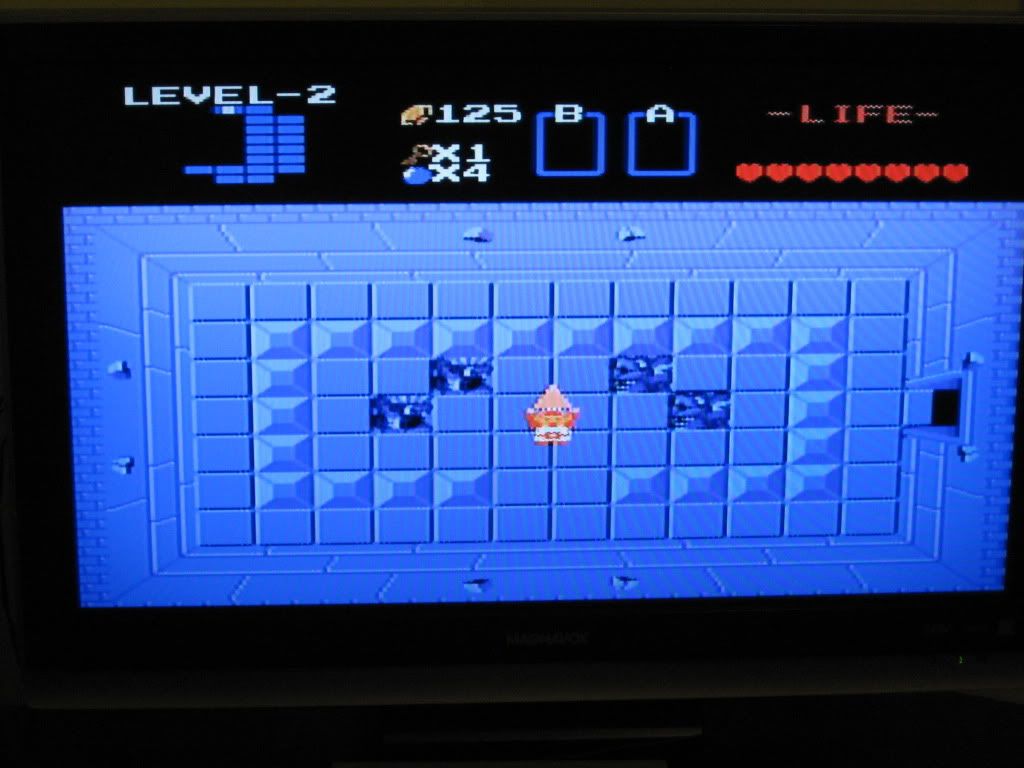
Level Two - The Moon
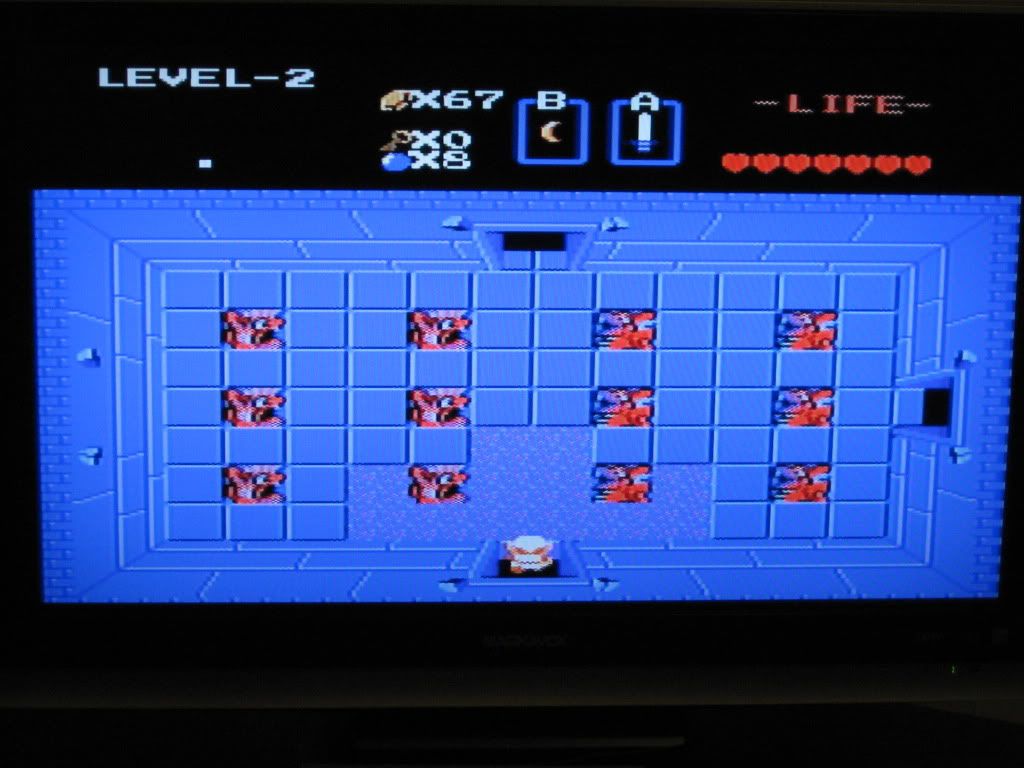 |
| Level II - The Moon |
Another part of the underworld to explore. This one looks deep blue...kind of nice to look at, matches my clothes!
So after a bit of overworld travel, we are in Level Two, which shaped like a crescent moon. That being said, it has a lot in common with the first dungeon: the ease of the enemies, the majority of which can but cut through like butter, the simplicity of the dungeon layout/puzzle volume, which lies to the extent of finding keys, exploring side rooms and staying on the straight path to the boss room and that is all there is.
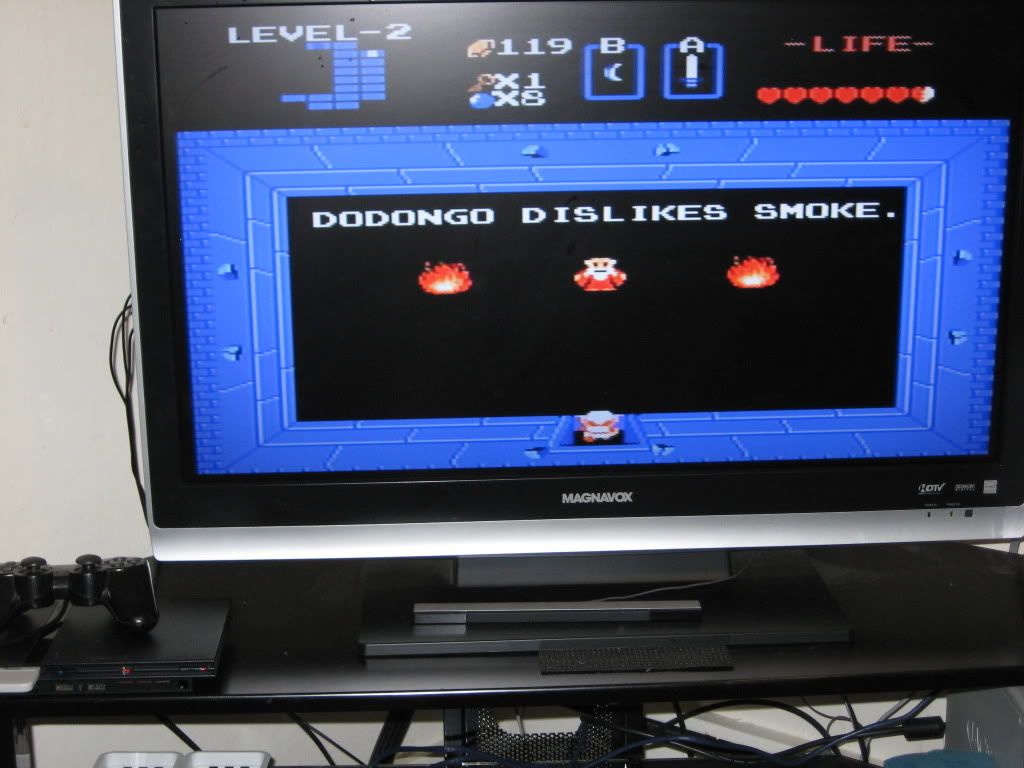 |
| The Old Man is an Enigma |
Could you maybe elaborate on what you mean? Like, for instance, what is a dodongo, perhaps why does he dislike smoke, and how will I produce fire to make it? I'm not so sure my candle will faze any enemy I've seen in these parts.
The hints provided by the old men that you encounter in this game just get more and more vague as you go...they don't tell much, and they don't really add to or subtract from the plot at all. The purpose I suppose they serve is to show that Hyrule isn't completely devoid of people...and to confuse Link to high heaven.
 |
| Underworld Boss II - The Dodongo |
I thought that the dinosaurs were extinct...this one apparently is lost in time because it doesn't really know I'm here. Poor thing looks hungry too...only thing I really have that it might like is bombs, so maybe I'll try that...whoa! Now I understand the old man!
So here we are, the second boss of the game. Now, if one thought that Aquamentus was easy, Dodongo is a piece of cake. This boss does nothing but walk around his chamber, growling and yelling, most probably about being hungry. So Link decides to feed him (isn't that nice?) bombs. I suppose that one who doesn't know what they're doing would be frustrated by this boss' non-straightforwardness (this is the first boss that provides a puzzle...and the first enemy that does period. You can't just kill him with the sword.) One way or the other, this boss is unquestionably easy to defeat: one can only feel shaky with the fact that the game is making the path easy thus far.
 |
| The Triforce of Wisdom - Piece #2 |
Yes, Impa didn't lie at all! I'm starting to believe what she said about Zelda's kidnapping and about the shattering of the Triforce of Wisdom to protect it...makes my job harder but more fun too. Now I have the second piece and lots of stuff! Things are starting to come together nicely for little old me!
Here you have it...the second piece of the Triforce and the celebration! Let's have some fun and dance before we go to the third dungeon...not really. Straight out to the third dungeon we go!
Level One - The Eagle
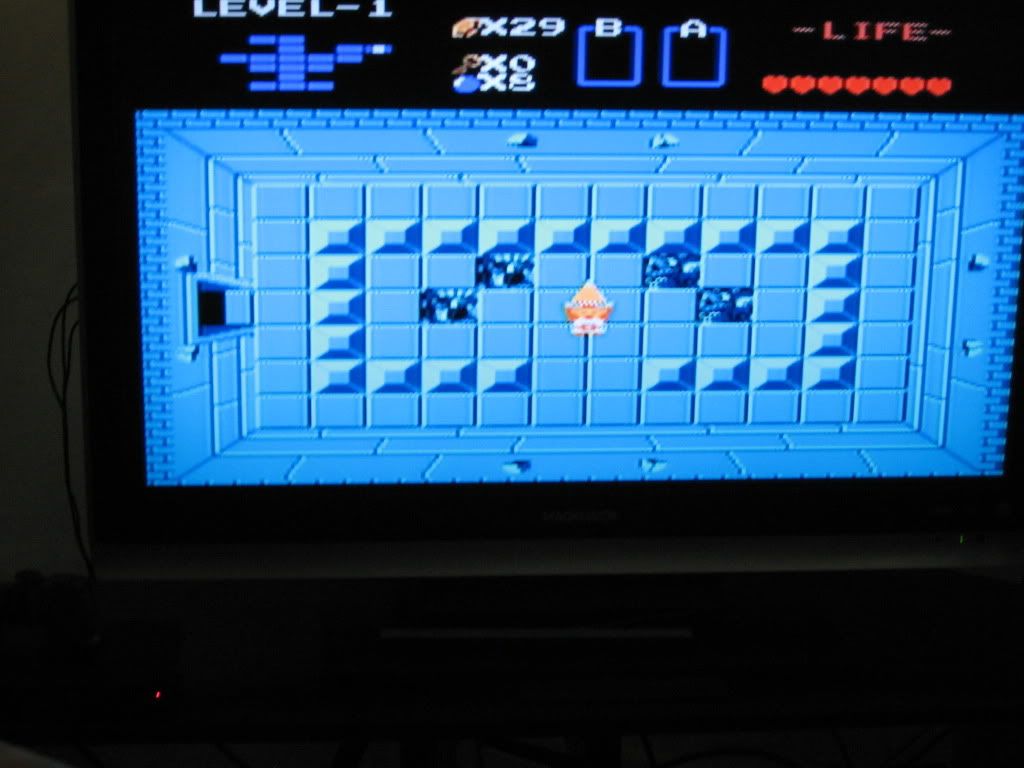
What an odd name for a dungeon; I suppose that it is indeed shaped like an eagle, but I digress. Now fully equipped with a blue ring, blue potion and resounding courage, Link sets out to the first dungeon which is only steps away from the origin point in the center of a lake. The entire level is blue, and this is one of the irritating elements of this game: the dungeon paneling is extremely nauseating, and it only gets more so as the game gets progressively more difficult (however, the other fact of the matter is that one can access levels one, two, three and eight from the very start...completing the levels in order ensures that one will have the equipment necessary to be able to complete the next; however, the game does give you some liberty, though this liberty is quite dangerous...level eight, after all, is full of darknuts and other hilarious baddies.)
Out of every Zelda game I have ever played though, out of every time I have replayed any game as well, when you look at the first dungeons next to one another; this one is by far the most simple, straightforward and even action-wise, the easiest. Now, this would indicate that the game itself would be simple right? The first dungeon must set the tone for the rest of the game. Au contraire, ye of little faith. Au contraire. That's really only true for the next installment (where the first dungeon is a pain in the butt and so is, consequently and progressively, the rest of the game).
So here is Link in the entrance foyer of The Eagle, checking things out, taking a short break from all monotiny it took him to be so well prepared to even take his first steps into these halls.

What's this...a world beneath Hyrule? Looks weird and dangerous...awesome! I can't wait to explore it. According to Impa, this is where I'll find the pieces of the Triforce that I need in order to help out the captured Princess...
Thank goodness for the equipment run; for it made this dungeon an absolute breeze. Link went through every single room with little to no resistance, losing not a single heart in his exposition of this simple level with very little puzzle value. (The only puzzle value this level offers is that there is a straight-forward path to the boss and rooms on the side which must be explored in order to make the dungeon complete.)
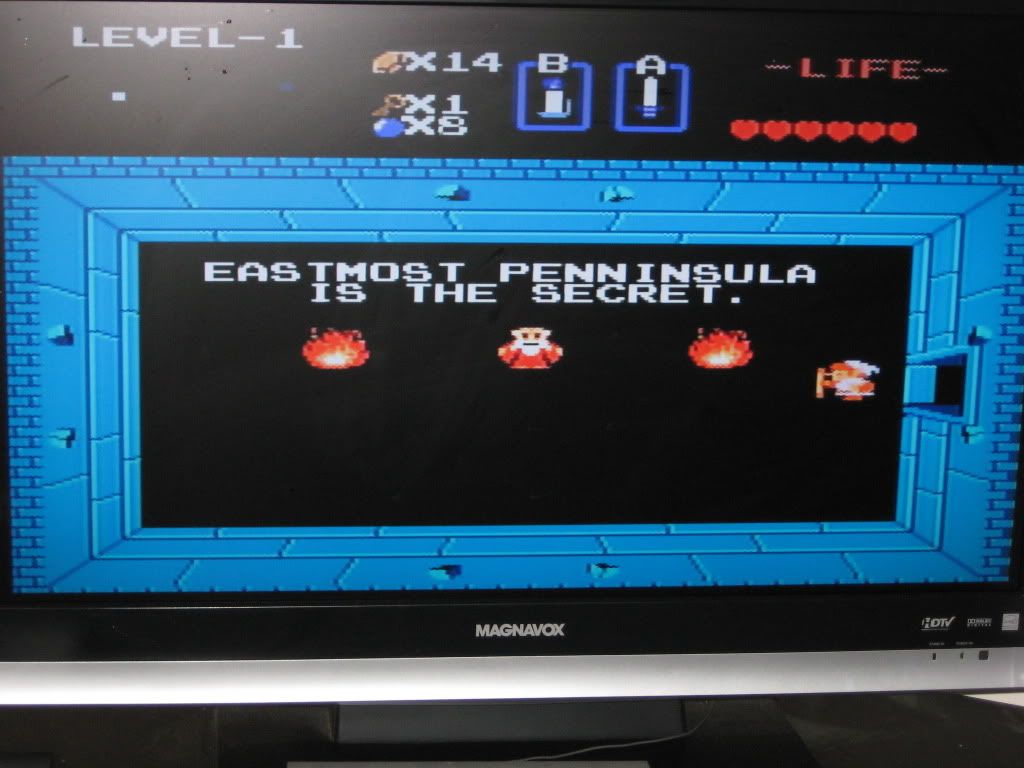 |
| The Old Man's First Language is Engrish |
Wait, I'm sorry, I didn't catch that...do you, perchance, speak Hylian?
Even as a little kid, this room has always struck me as funny. I mean, to begin with, it's not much of a hint (all it really refers to is that on the eastmost peninsula of Hyrule, once one has the raft, you can access a secret cave...but since I had already passed the eastmost peninsula of Hyrule several times and seen the vantage point I already knew that something had to be on the other side). The second thing is that, thanks to the fact that this game was made in the 80s when Japan's relationship with the United States was considerably new, the ability of English translators in Japan was limited (this was made most famous by "Take Your Base", a song which takes random bits from a video game that was poorly translated and makes it into a hilarious techno) so in effect, the old man here doesn't have a good command of Hylian (or in our perception, English) in the respects of morphology or syntax. His spelling is off and his syntax is quite Yodaish. (A proper hint would read "The secret lies at the most eastern peninsula.") But enough on this aside, as humorous as it is...it's just fun to note that the novelty of the relationship between Japan and the United States is marked in this game. (In present day, however, there are many people in Japan fluent in English and several people in the United States fluent in Japanese. These two cultures have definitely intertwined.)
 |
| The First Underworld Boss - Aquamentus |
A scary dragon that spits fire...yet he just stands there, letting me run around and fire sword beams at him. I wonder what the heart was that he left behind too...it made me feel stronger but I can't help but wonder what it was made of.
The first boss fight of the Legend of Zelda Ultimate Adventure - Aquamentus. Aquamentus is the most insanely easiest boss ever, and in some rights, I don't even know if he deserves the rights to be called a boss, and more like an obstacle. He just stands there and spits three fireballs at you every couple of seconds. So in this game, all you do is stand at the other corner of the room with full health and fire sword beams at his head. Game, set, match. And if you don't have full health, get close to his head and stab it to death. Same effect, just a little more difficult (but not by much) to dodge the fire he spits. In ways, you can count on more enemies in both the underworld and overworld annoying you than this guy.
 |
| Triforce of Wisdom - Piece #1 |
Yahoo! I found it, the first piece of the Triforce! Celebrate!
My evidence for you that the first dungeon was indeed completed. We're on our way now to the second dungeon, not wasting any time in between.
Monday, July 19, 2010
The Equipment Run
As I mentioned in the previous post, as soon as I began the game, the first thing I did was to go on an equipment run to make sure Link was prepared for the dangers ahead. (Since it gives you access to all of these goodies so early, even the first dungeons can be needlessly irritating.) Before I do though, let me share a screenshot or two with you out of nostalgia.
Oh the dilemma! To have more ability to survive, or to recover quickly from death's edge...I think I'll choose to avoid death rather than recover from it, thank you very much!
 |
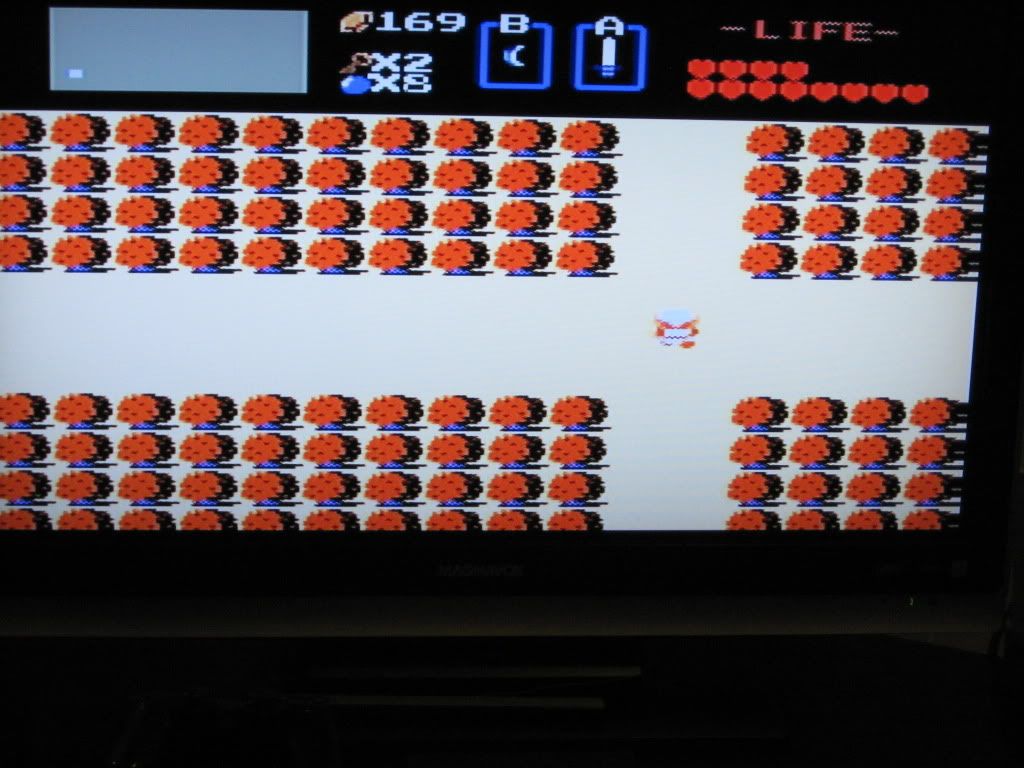
| The Origin Point |
So here I am, minding my own business when this gray haired woman appears out of nowhere and tells me that it is my destiny to save Hyrule and that some princess has been kidnapped by an evil villain. Whatever, I'm bored. I suppose I'll have to check it out.
Every game has the place where you first start the game. Unlike any other game in the series though, however, this game has you revisit this cave in the mountains as if it were your place of work. It serves as a place to keep the player oriented, serves as the beginning and ending of what I refer to as the "rupee path" and holds your first weapon. Speaking of which...
 |
| Link Gets The Wooden Sword...Remember, "It's Dangerous To Go Alone!" |
As if this stick is going to help fend off the monsters that have suddenly started appearing around Hyrule...thanks a lot for the help!
A stick. This game literally hands you a stick as your first weapon. For a stick, all you have to do is walk into the cave on the first screen you're on...and that is all it's worth. I remember back when I first played this game and didn't know where any of the heart containers were; that I would wriggle my way through the first two dungeons with this cheap piece of wood. It's not fun, and it just not result in a good time playing this game. Each weapon doubles your attack power, and the game quickly throws enemies at you that the wooden sword will not kill in one blow. (There are some that the final sword won't kill in one blow...imagine how many blows it would take for this little wonder.) Link, I imagine, is having a good laugh about the concept of saving Hyrule with a stick.
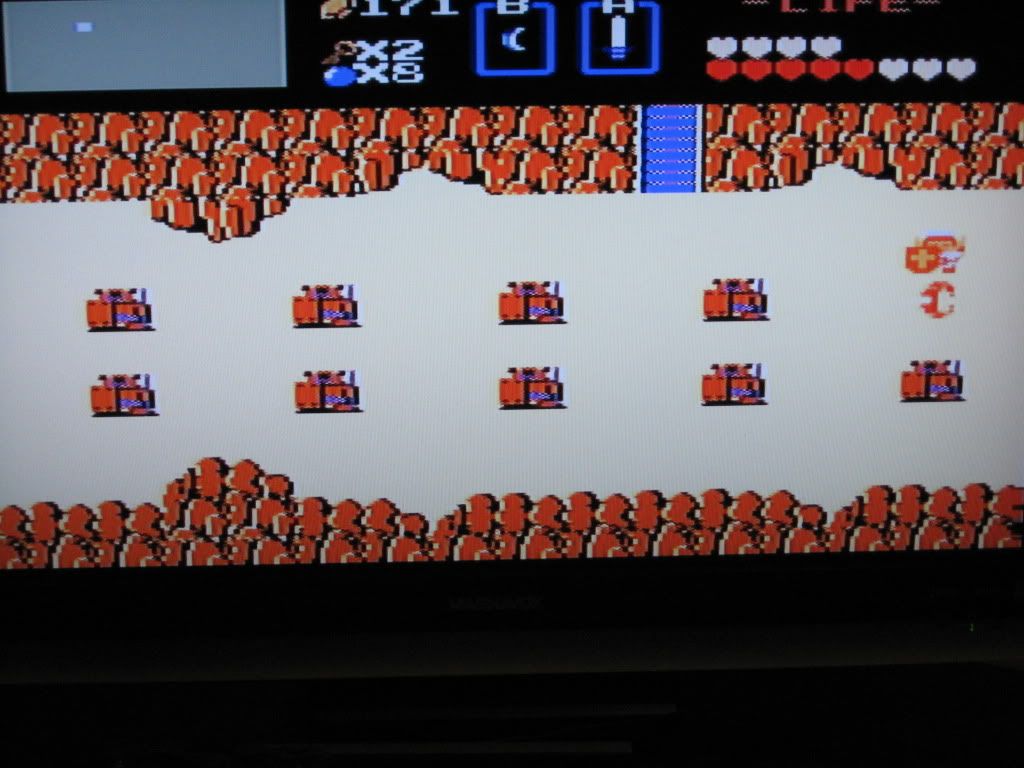
First things first on the equipment run...Link ran up and down Hyrule, collecting rupees so I could buy the items I needed. See, the game has several heart containers available to you before you even enter the first dungeon: you just need to be savvy enough to purchase the blue candle and bombs and then find them. Easy enough. So this was done, and after even more rupee saving to get a better shield (wow...a better shield and two pieces of equipment already...I love how fast this game progresses.)
I went for the heart containers which would allow me to carry the better sword so I could get rid of this staff that I was carrying around, trying to feign as a weapon.
 |
| The Easy Choice |
Oh the dilemma! To have more ability to survive, or to recover quickly from death's edge...I think I'll choose to avoid death rather than recover from it, thank you very much!
This game offers you the simplest puzzle to begin with that, if you don't choose right, will end up making your life difficult. A potion or a heart. Let's see...one opportunity to refill my life, or one more heart period. Not a difficult choice, is it? I just find it hilarious that in this game, the player is offered the choice. No other Zelda game offers you this choice: you either find the piece of heart/heart container or you do not. So this is just something neat worth mentioning. One way or another, climbing my way up to five heart containers was simple after a bit of trekking through Hyrule. This is the pre-requisite in the game for the White Sword, your first sword made from metal. Twice the power as well. Again I must note this: the speed at which this game progresses is phenomenal. You are given more than what you need for the first half of the game...in the first ten minutes, aside from some equipment that you must dungeon crawl for. One way or the other, after picking up a letter from an old man addressed to the potions woman (the content of that letter, I am personally grateful, is left a mystery to us).
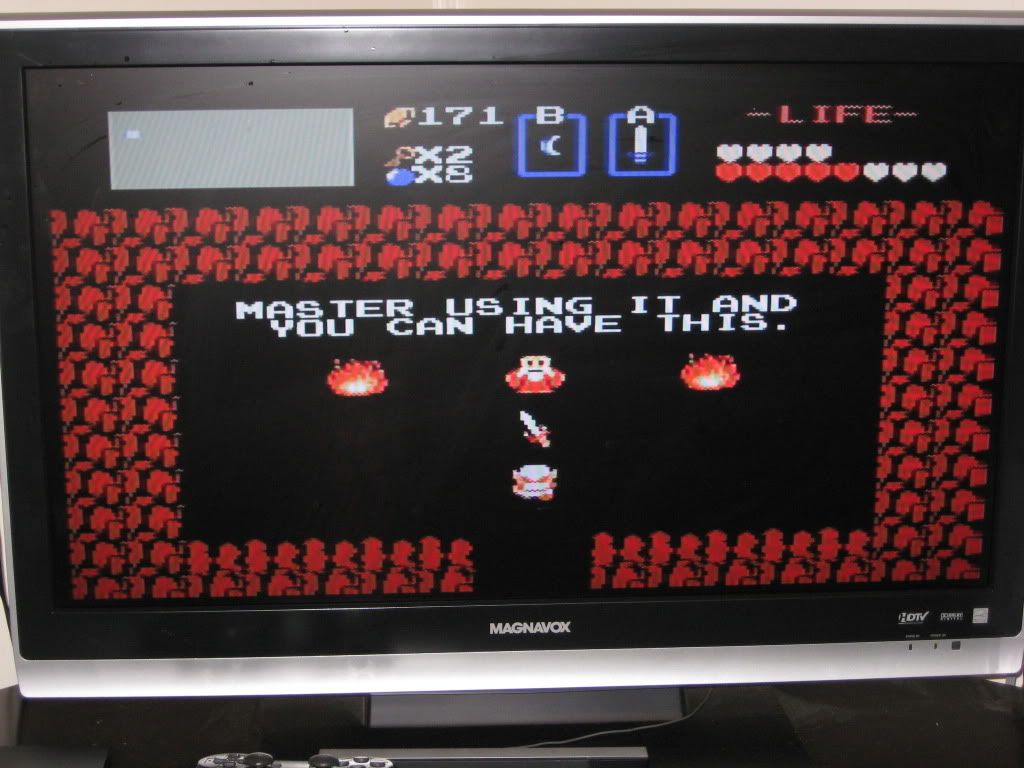
Now, how exactly can I master using it if I can't have it, old man?! Finally I can get rid of this wooden stick though...
 |
| Link Gets The White Sword |
Subscribe to:
Comments (Atom)